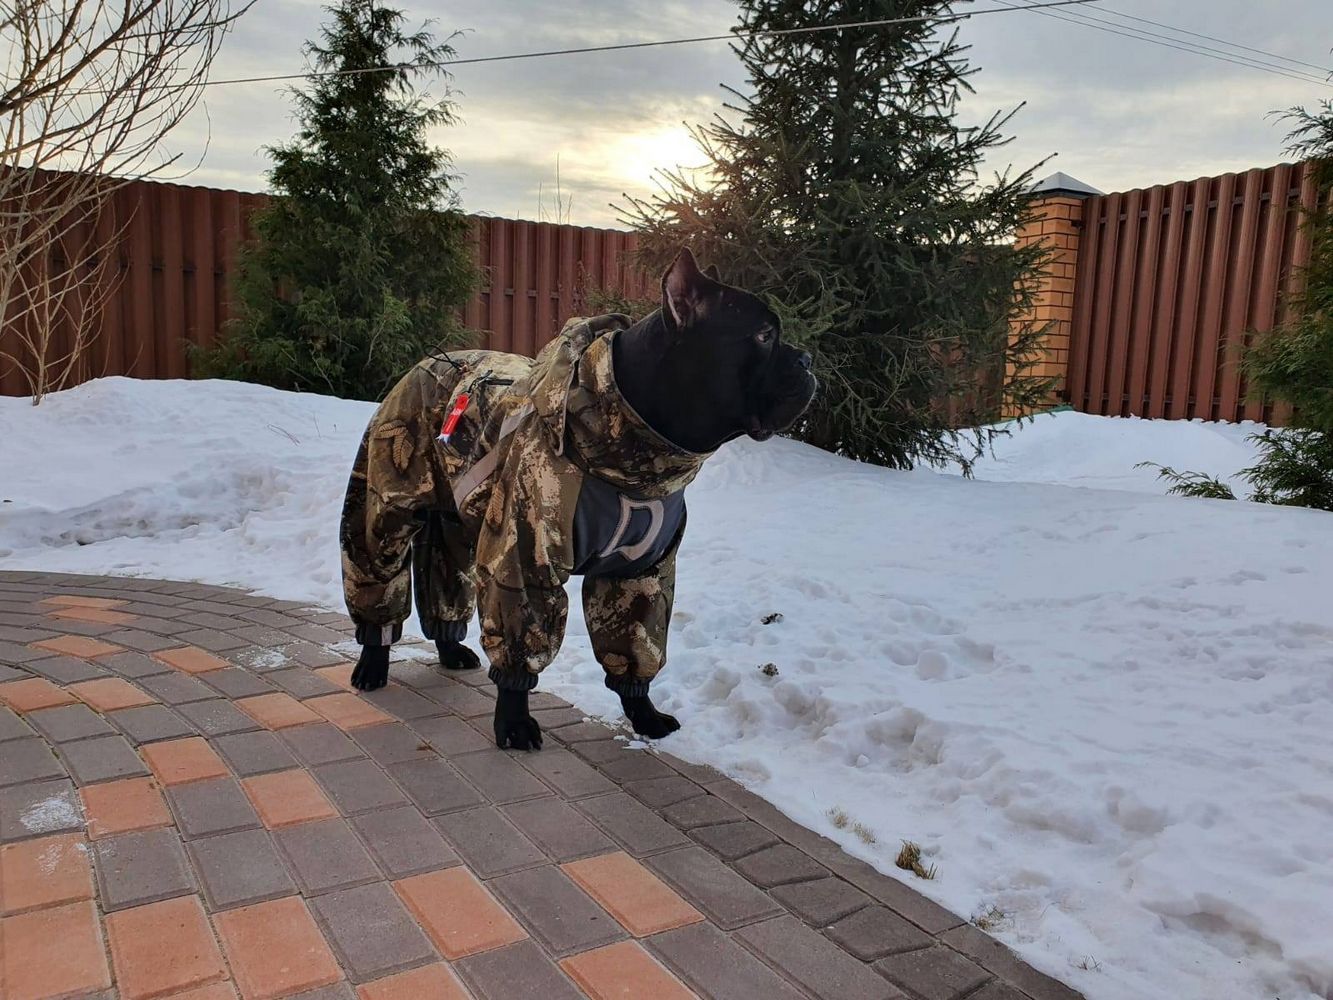
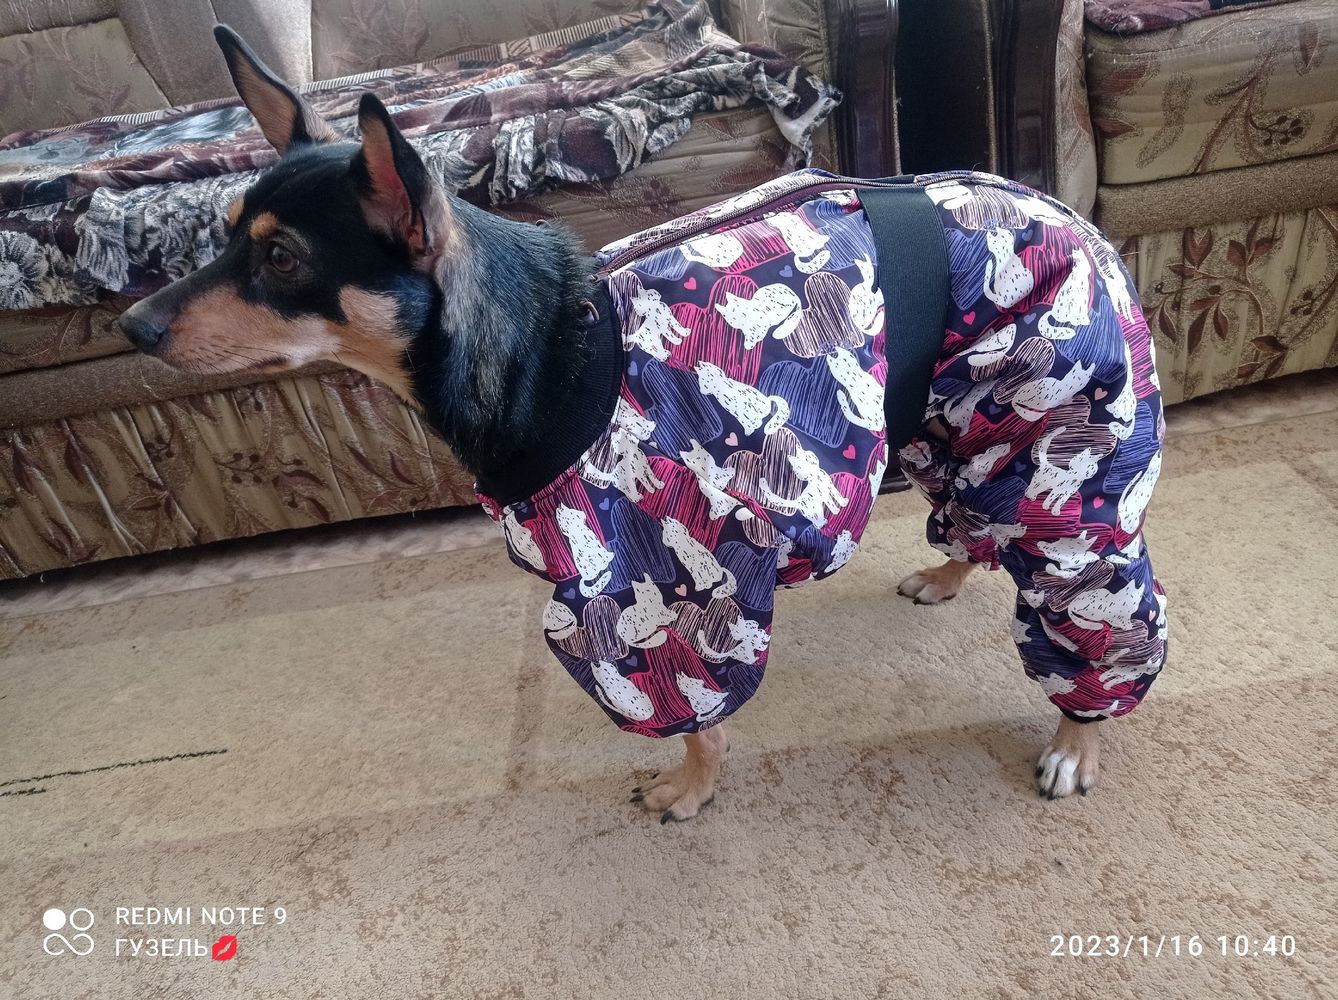
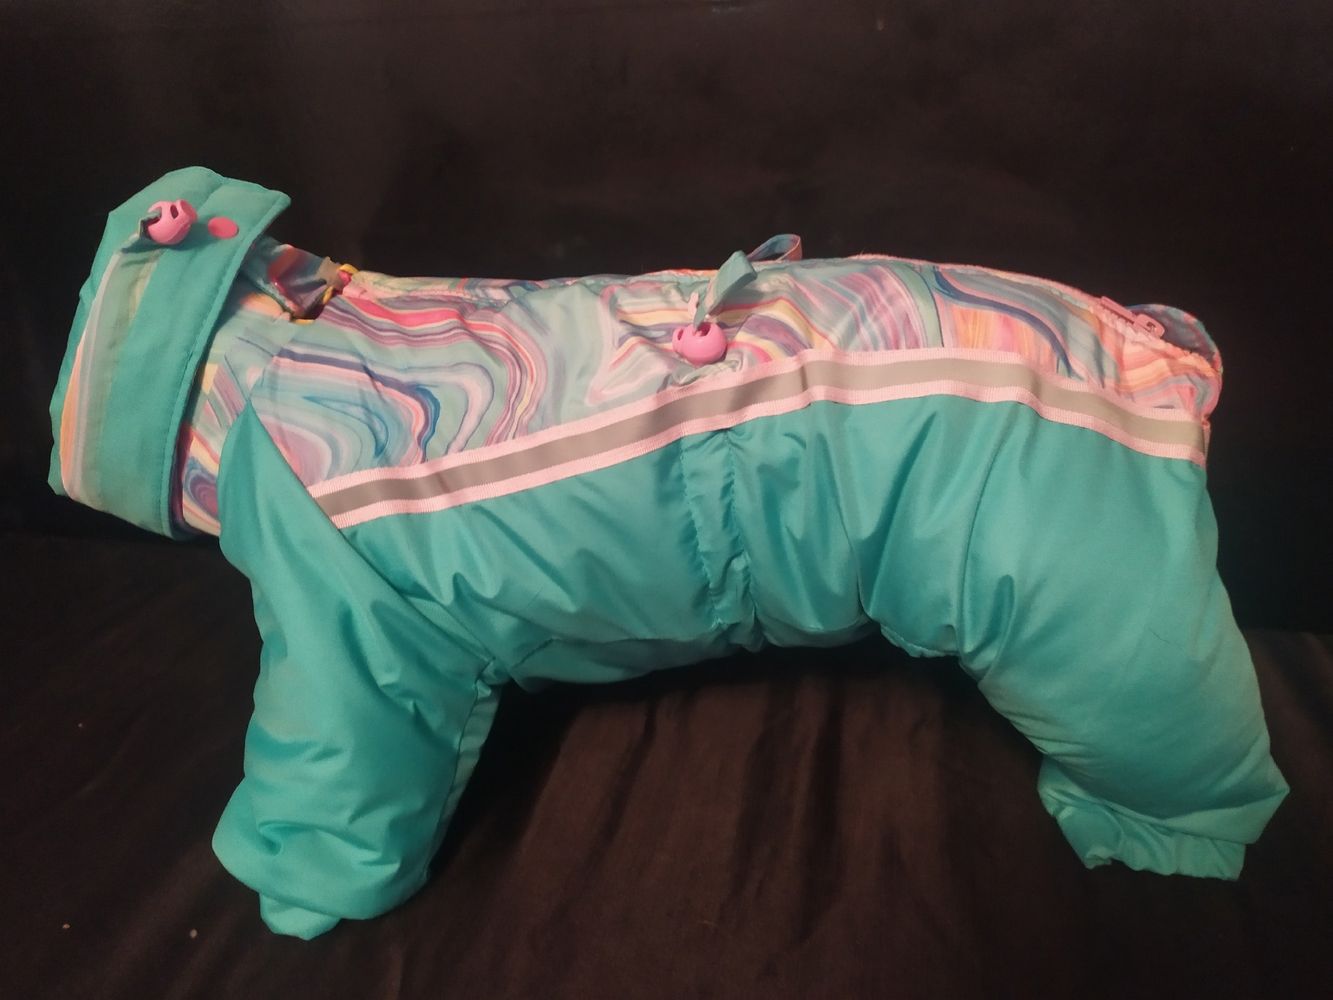
Jumpsuit for a dog Frost
Insulated jumpsuit for a dog. There are cuffs along the sleeve hems. There is a stand collar with tightening; drawstring on the garment lower part. The garment model is fastened with a zipper. There is also a removable hood.
- Difficulty Level:
Pet Size (Back Length / Chest Girth in cm):
-
23/31
-
27/37
-
31/43
-
35/49
-
39/56
-
42/62
-
46/68
-
50/74
-
54/80
-
-
Recommended fabrics
Membrane, raincoat fabrics, and alpolux insulation 100g/m2.
We used: Membrane, Alpolux insulation 100g/m2, lining fabric, and fleece.
Fabric yardage
Main fabric - length 1 m (23) - 2 m (54) with width 1.5 m; lining - length 0.8 m (23) - 1.5 m (54); fleece - length 0.25 m (23) - 0.35 m (54).
Wearing ease
Along the chest - 4 cm (23) - 14 cm (54).
Additionally:
- threads - 2 spools;
- sling of 2 cm wide - 15 cm;
- half-ring ø 2 cm - 2 pcs;
- snap ø 0.7 cm - 6 pcs;
- retainers - 4 pcs;
- grommets ø 0.5 cm - 4 pcs;
- elastic band of 2 cm wide for cuffs - determined individually;
- elastic band of 1 cm wide- determined individually.
Allowances
For seams - 1 cm; for finishing - 0.7 cm.
Equipment
Sewing machine and a presser for installing accessories.
Tailoring. Video Tutorial
- Pay attention to the letters on the pattern details. When connecting the details, match up the corresponding letters.
- Cut out the details of the front, back, sleeves, upper collar, and the zipper placket from the insulation. Stitch the details to the insulation along the perimeter at 0.5 cm from the edge. Stitch along the foldline of the zipper placket.
- Stitch the fronts and the back detail parts together along the body side edges at 2 cm from the lower rounded edge (B1G-B2G).
- Stitch the lower edges of the sleeves for the front and back paws together.
- Stitch the sleeves to the armholes.
- Lining. Stitch the front and back details together along the body side edges at 2 cm from the lower rounded edge. Press the allowances open. Stitch the sleeve and grown-on sleeve lower edges together. Press the allowances open. Stitch the sleeves to the armholes.
- Cuff. Stitch the cuff short edges together. Stitch the elastic band into a ring, overlapping the short edges. Fold the cuff lengthwise in half, having put the elastic band inside the cuff, and stitch the cuff edges together at 0.5 cm from the edge. Stitch the cuffs to the sleeve hems.
- Mark the location of the self-fabric carrier and grommets.
- Stitch the lining to the front lower rounded edges of the main fabric (from one body side seam to another one). Stitch an elastic band 1 cm wide to the seam allowance. Straighten the seam, forming a piping, and topstitch at 1 cm from the seam.
- Stitch the lining to the upper edges of the grown-on sleeves, stitching the body side edges together along the remaining part.
- Drawstring. Fold the drawstring detail lengthwise in half (face up), and fold the warp edges inwards to the foldline. Matching up the foldlines, stitch at 0.1 cm from the foldline.
- Stitch the self-fabric carrier weft edges together, making a 0.5 cm wide double foldline of the hem. Fold the self-fabric carrier lengthwise in half and stitch the edges together at 0.5 cm from the edge.
- Thread the drawstring into the self-fabric carrier, then thread the self-fabric carrier edges to the retainers.
- Place the self-fabric carrier between the upper and lower parts of the lower collar, put the edges of the drawstring also between the collars and stitch the details of the lower collar together. Press the allowances on the garment.
- Stitch the short edges of the placket, turn out the placket, and straighten it. Place the placket amplifier inside the placket, then stitch the placket edges together.
- Collar. Stitch the upper collar and the lower collar together along the long and short edges and ledge to the marking. Turn it out and straighten it. Stitch along the seam of the lower collar stitching, stitching the upper and lower collars together.
- Stitch the collar and the collar placket to the garment neckline, placing them between the details of the main fabric and the lining ones and stitching along the ledge (the placket should be between the collar and the main garment).
- Thread the sling into a half-ring, stitch the sling edges to the back edges at 8-10 cm from the neckline ledge.
- Stitch the short edges of the zipper placket together. Turn it out, straighten it, and fold it in half. Topstitch at 0.5 cm from the placket edge and foldline.
- Pin the placket and zipper tape to the back detail upper edge along the front side, covering the zipper with the help of the placket at the neckline. Stitch the details together. The slider with the zipper fastened should be at the neckline.
- Pin another zipper tape to another upper edge of the back detail along the front side, matching up the edges and the tape edge.
- Stitch an elastic band to the allowances of the grown-on sleeve upper edges. Stitch from the step seam to the point at 1 cm from the zipper stitching seam.
- Stitch the lining to the main garment along the sleeve edges.
- Install grommets.
- Stitch the lining to the zipper and the placket stitching seam along the allowance. Stitch the lining partially to the other zipper tape, leaving the hole for turning out.
- Turn out the garment on the front side.
- Stitch along the marked lines on the self-fabric carrier. Thread the drawstring between the lines of the self-fabric carrier, thread it out through the grommet on the front side, put on the retainer, leaving a loop of the drawstring, thread it back through the grommet on the wrong side, and baste the edges to the back detail edges.
- Topstitch along the zipper seam, stitching the folded edges of the lining.
- Hood. Stitch the details of the main fabric together along the middle edges and topstitch the allowances at 0.1 cm from the seam. Stitch the details of the fleece together along the middle edges as well, leaving a hole for turning out. Stitch the hoods of the main fabric and of the fleece together along the front and the neckline edges. Stitch the elastic tape to the allowances of the hood front edge according to the markings. Turn out the hood on the front side, straighten the front edge, forming a piping of the main fabric, and topstitch at 1 cm from the edge. Press the neckline seam.
- Mark the location of the snaps on the placket and hood. Install the snaps.


Loading comments...