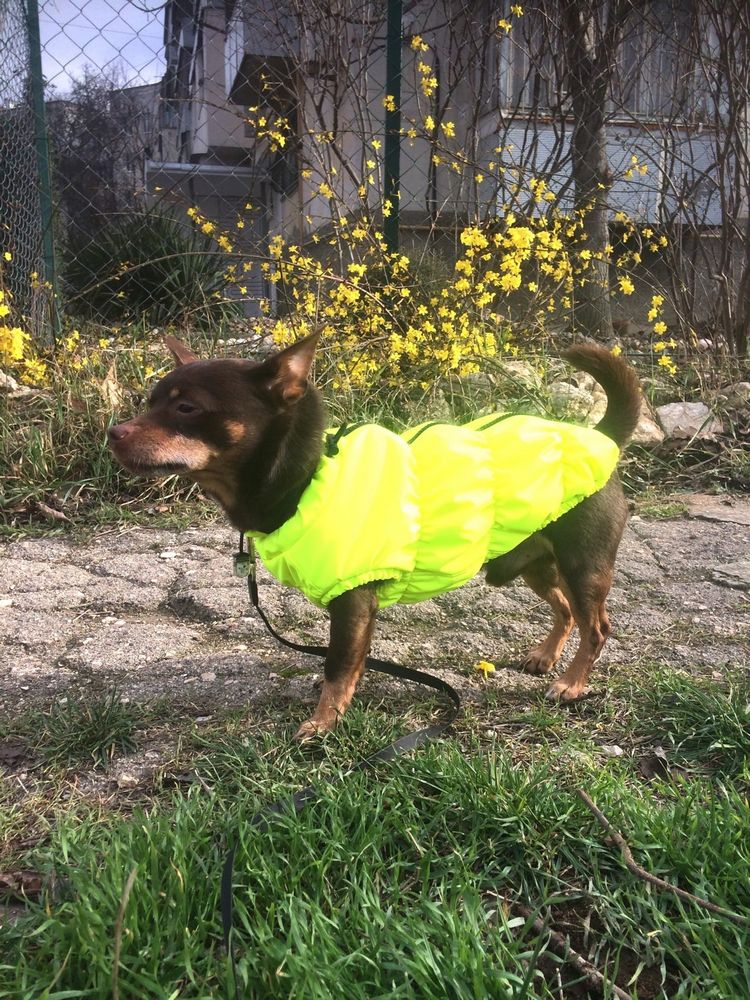
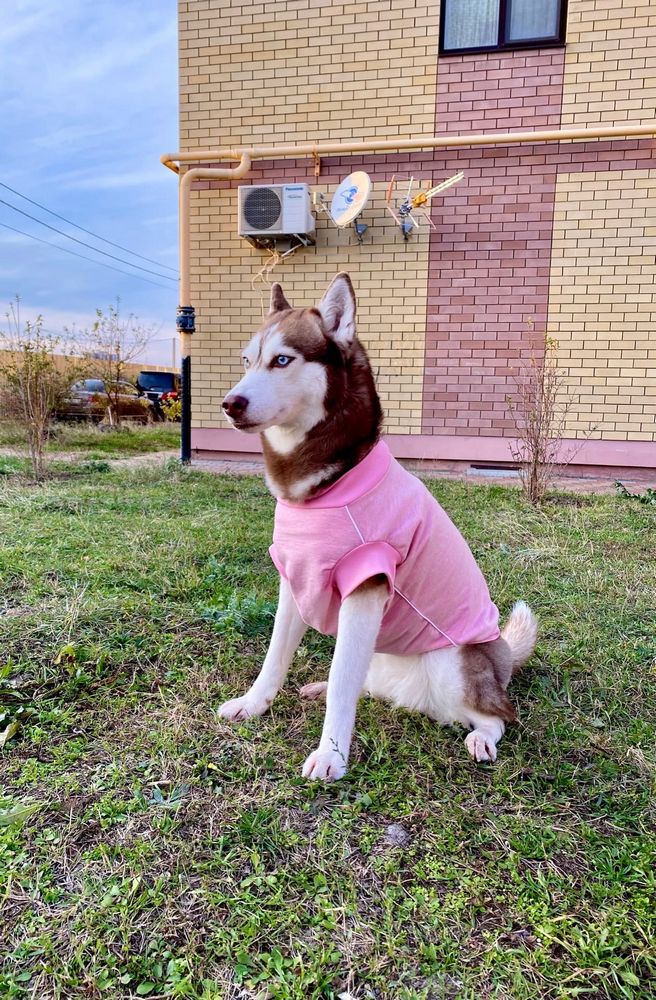
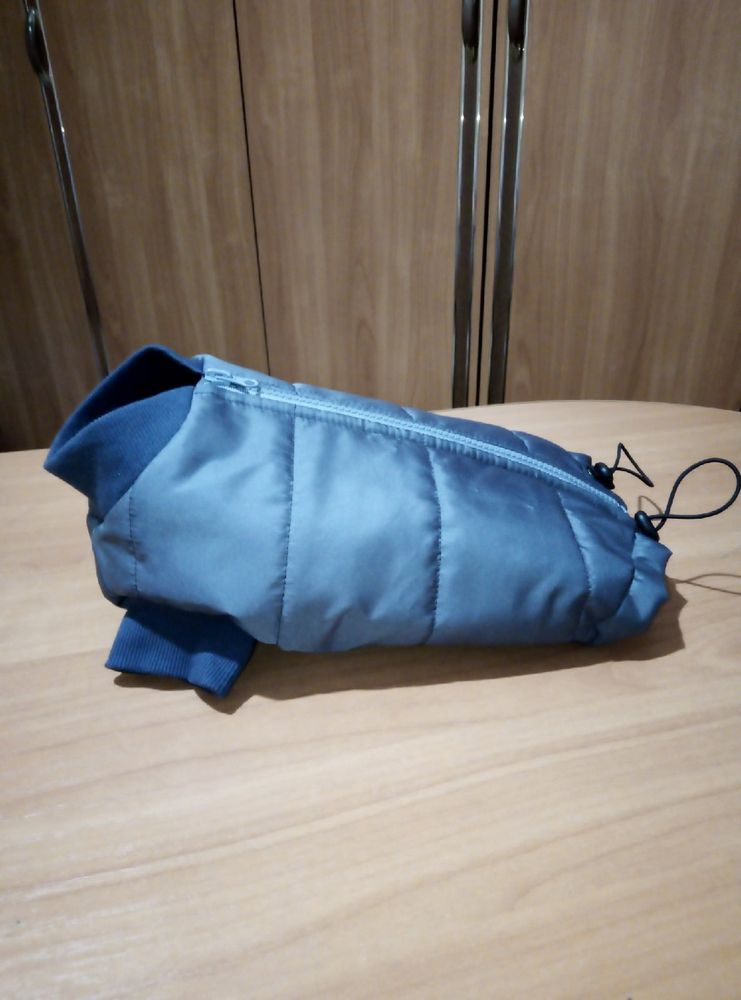
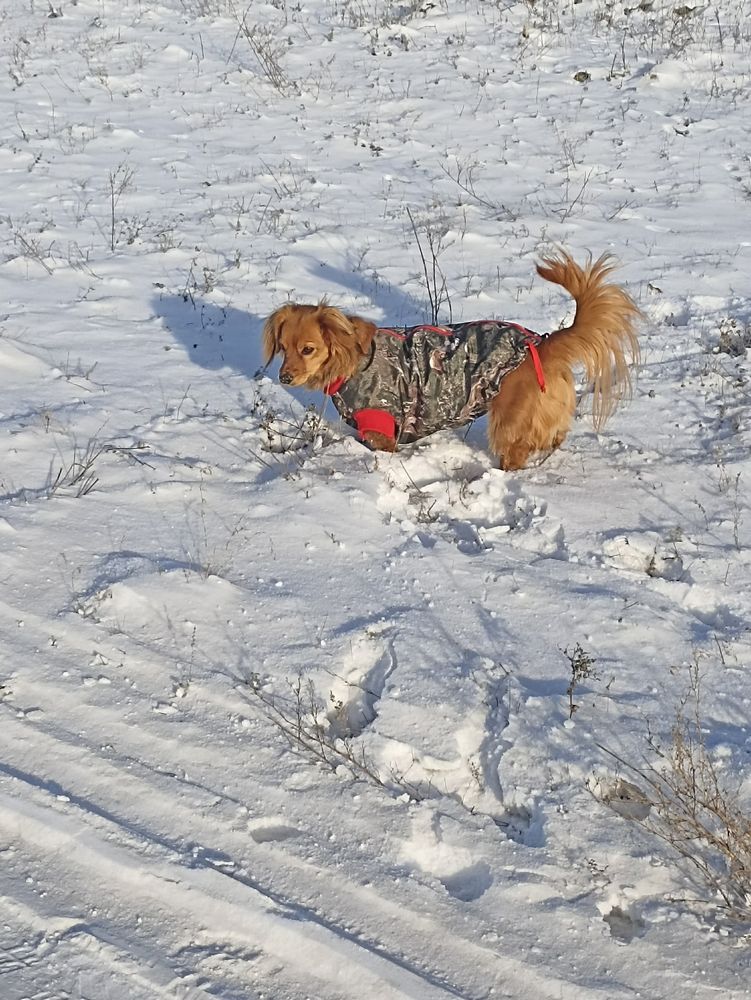
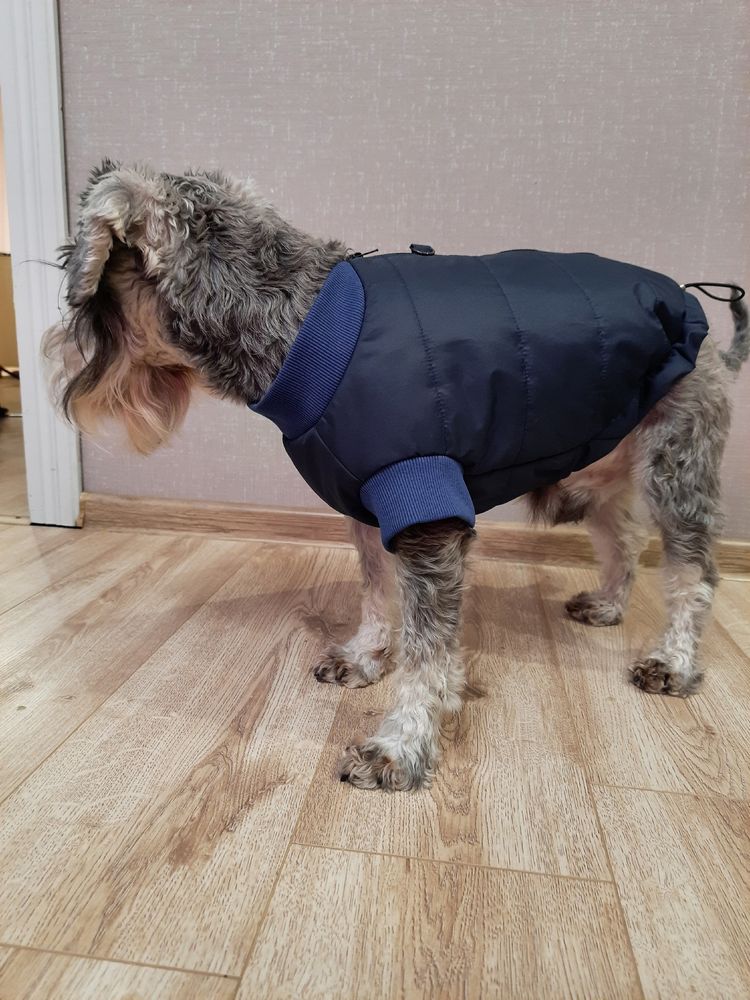
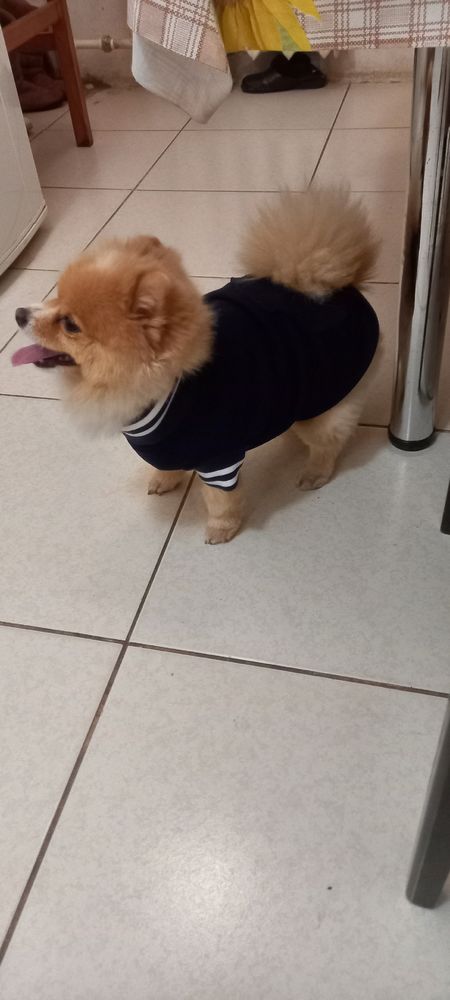
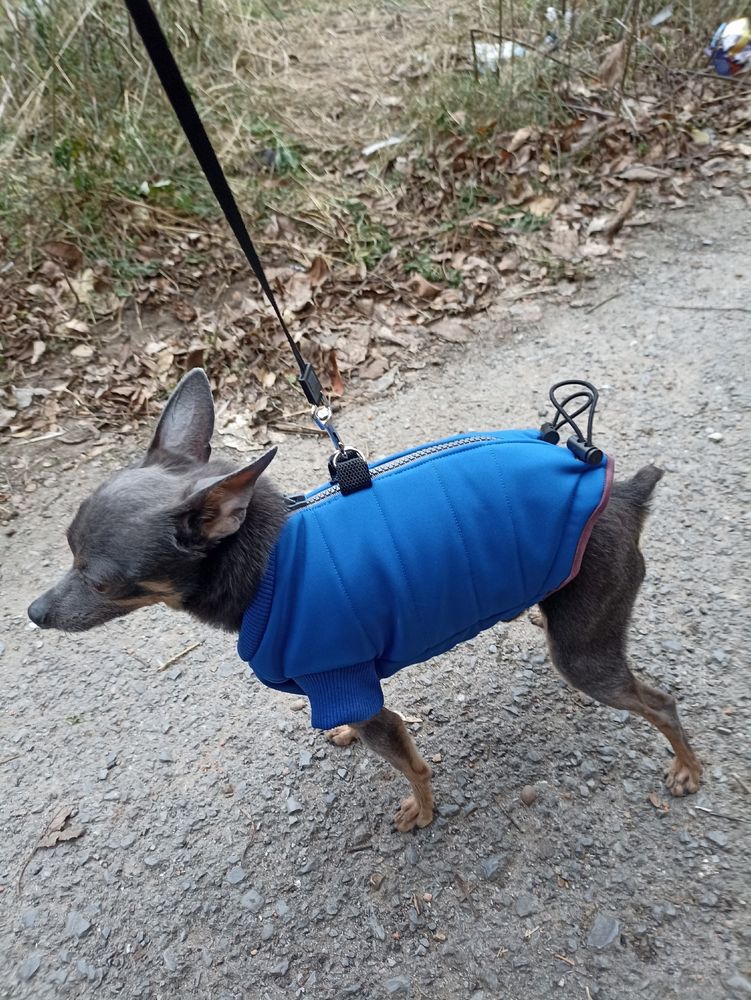
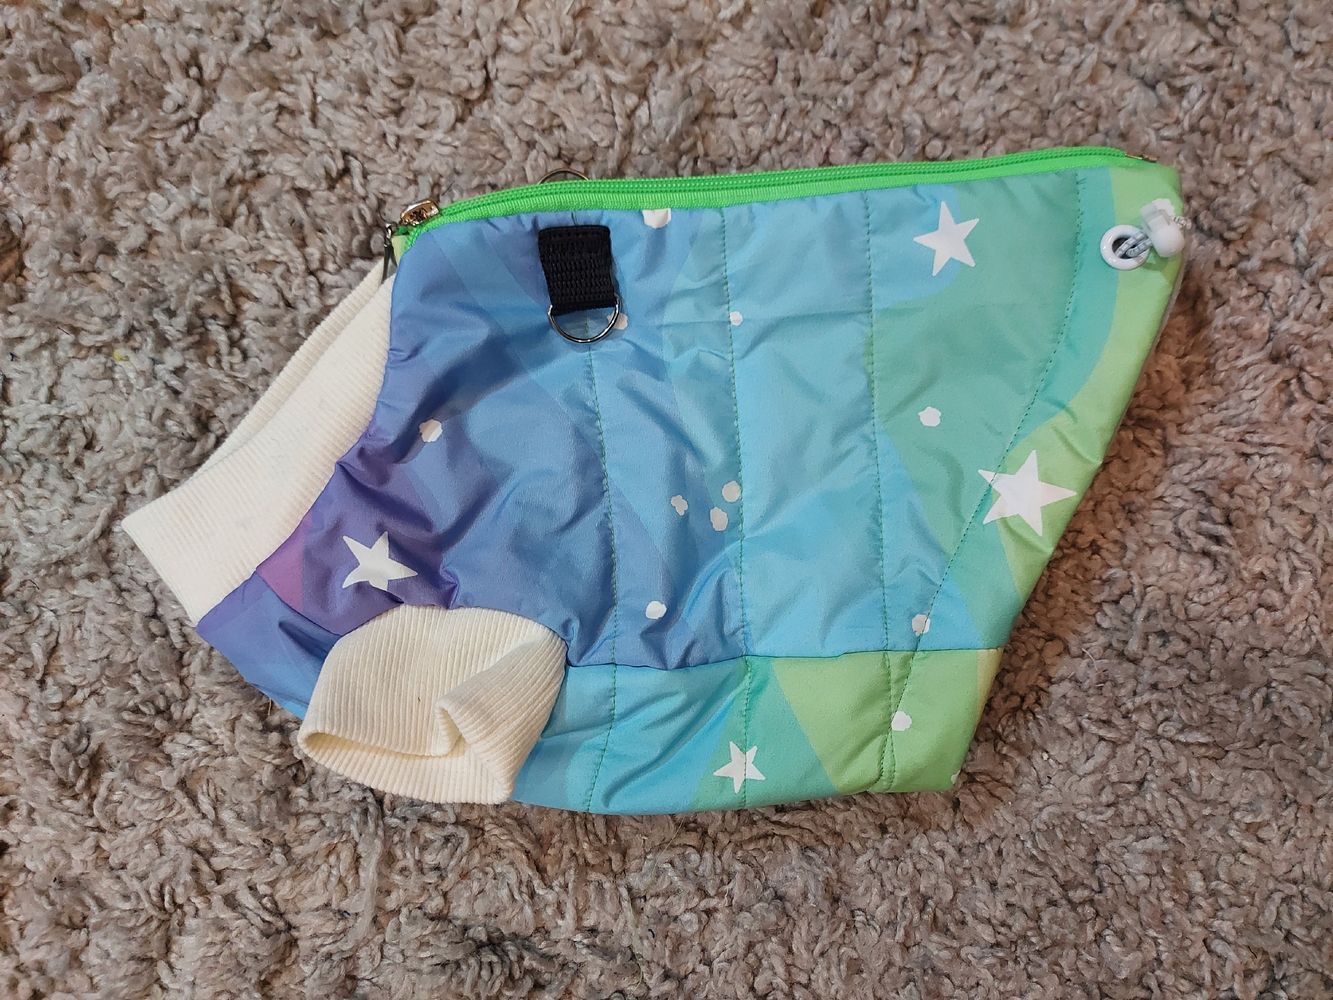
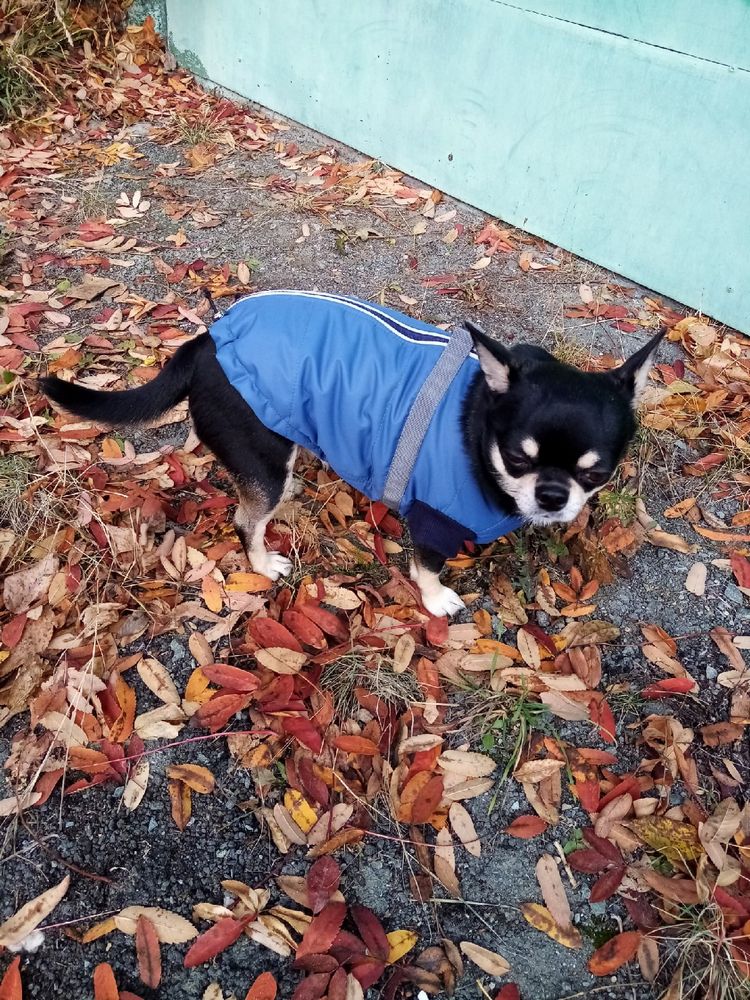
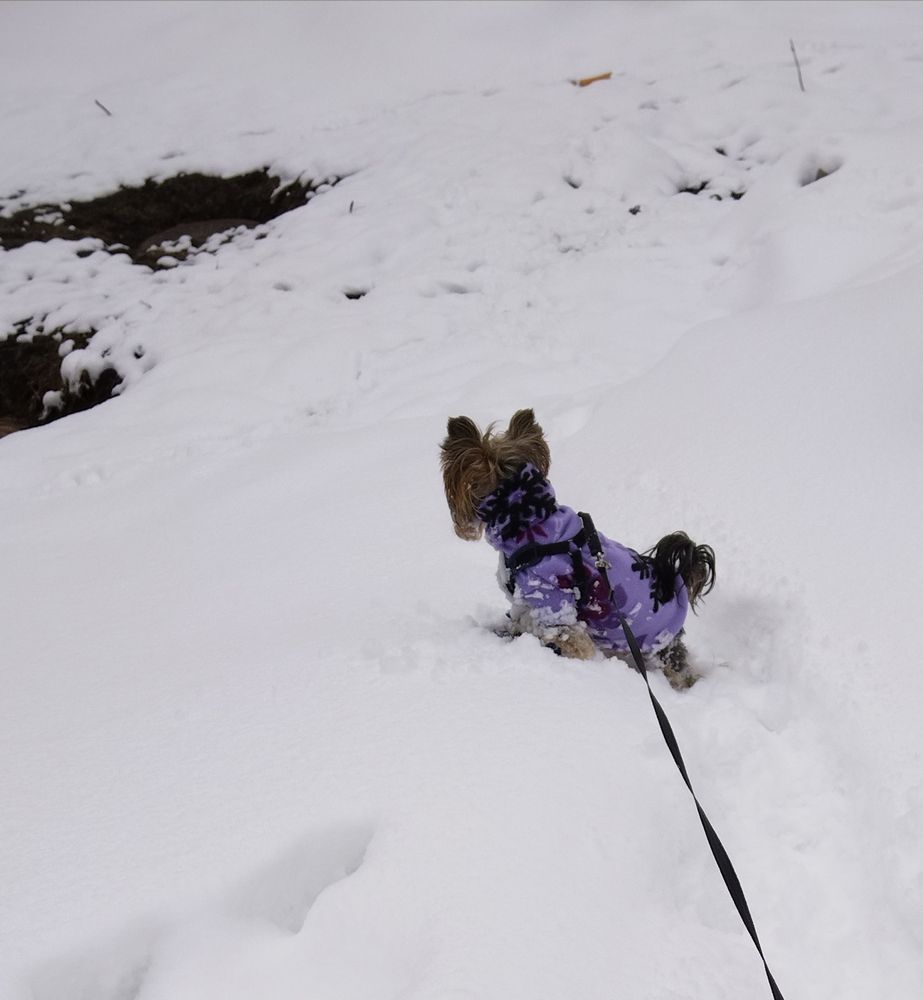
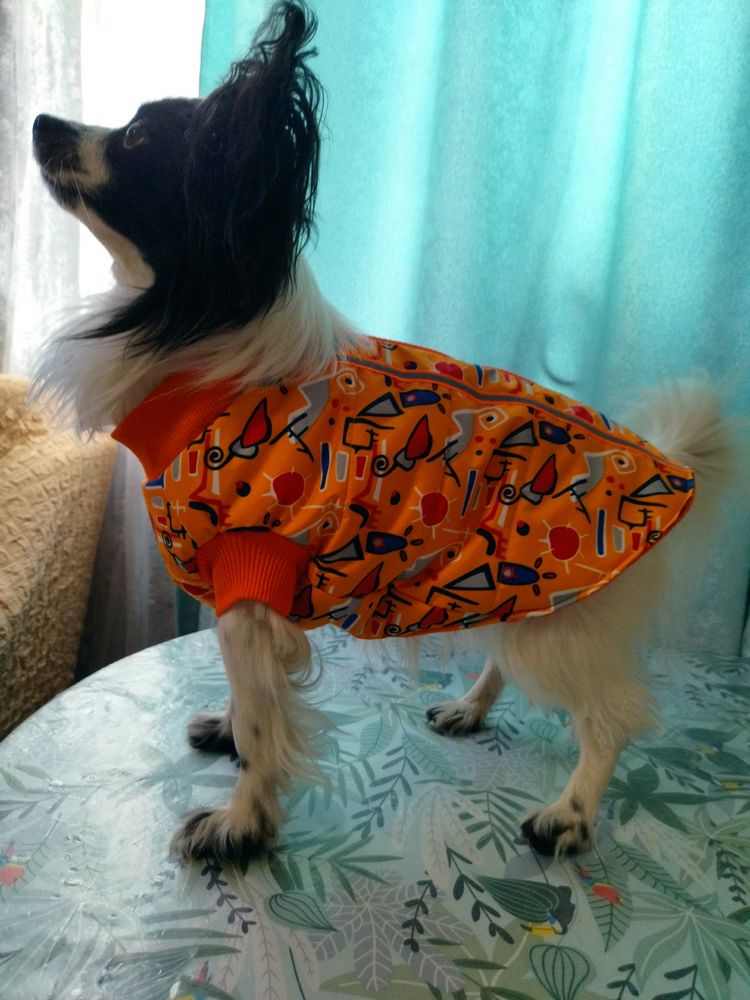
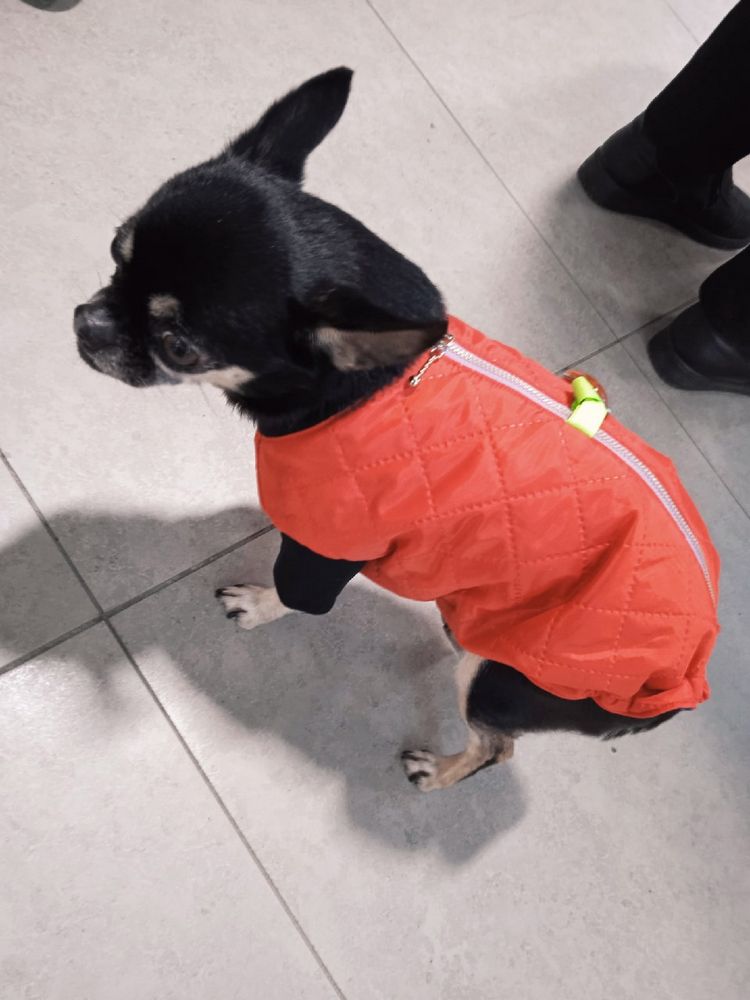
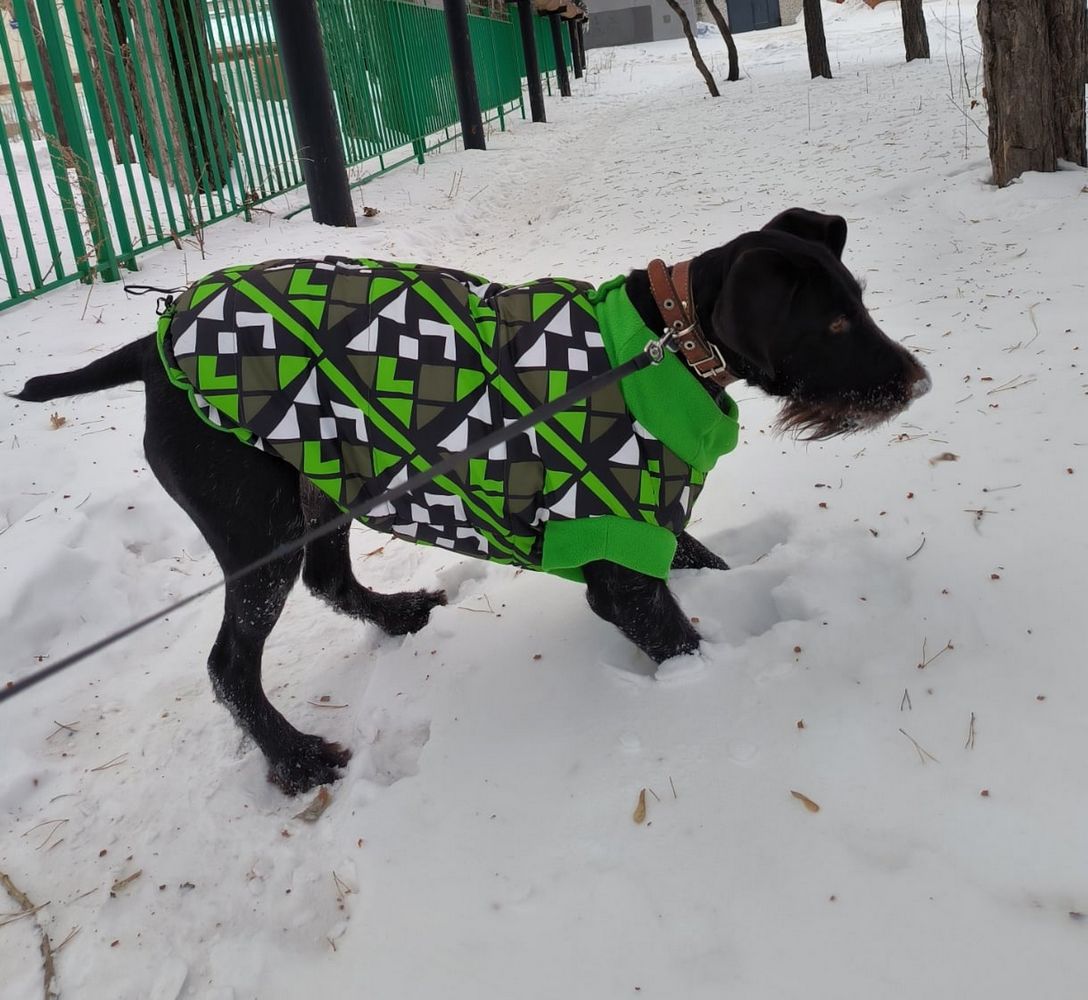
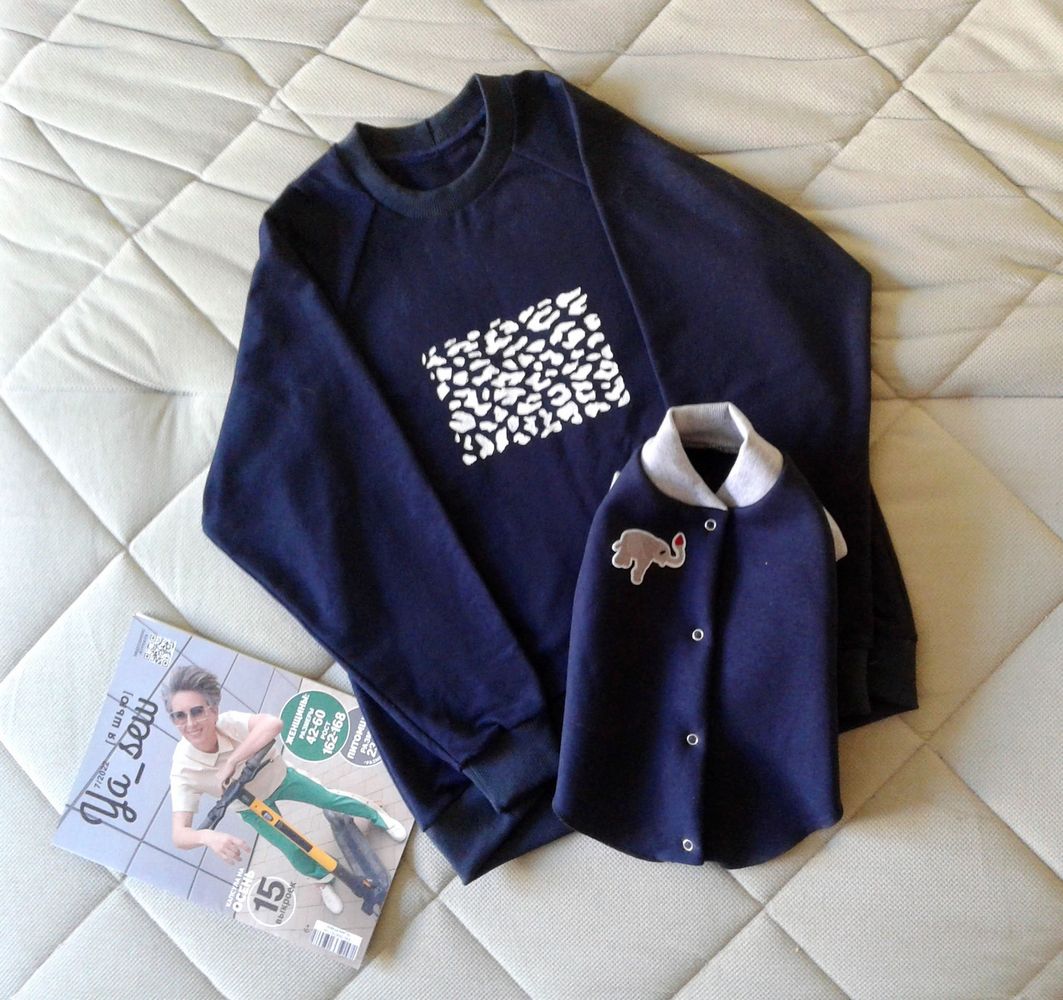
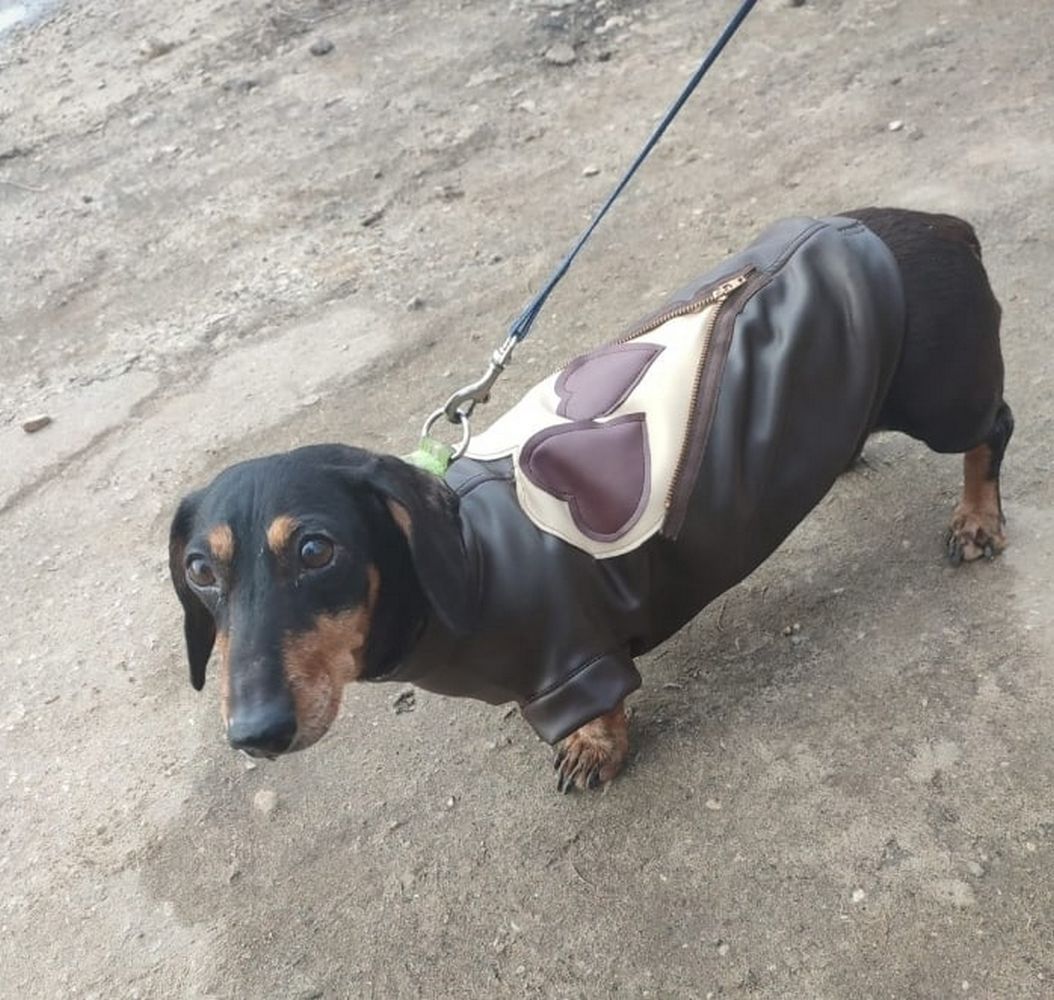
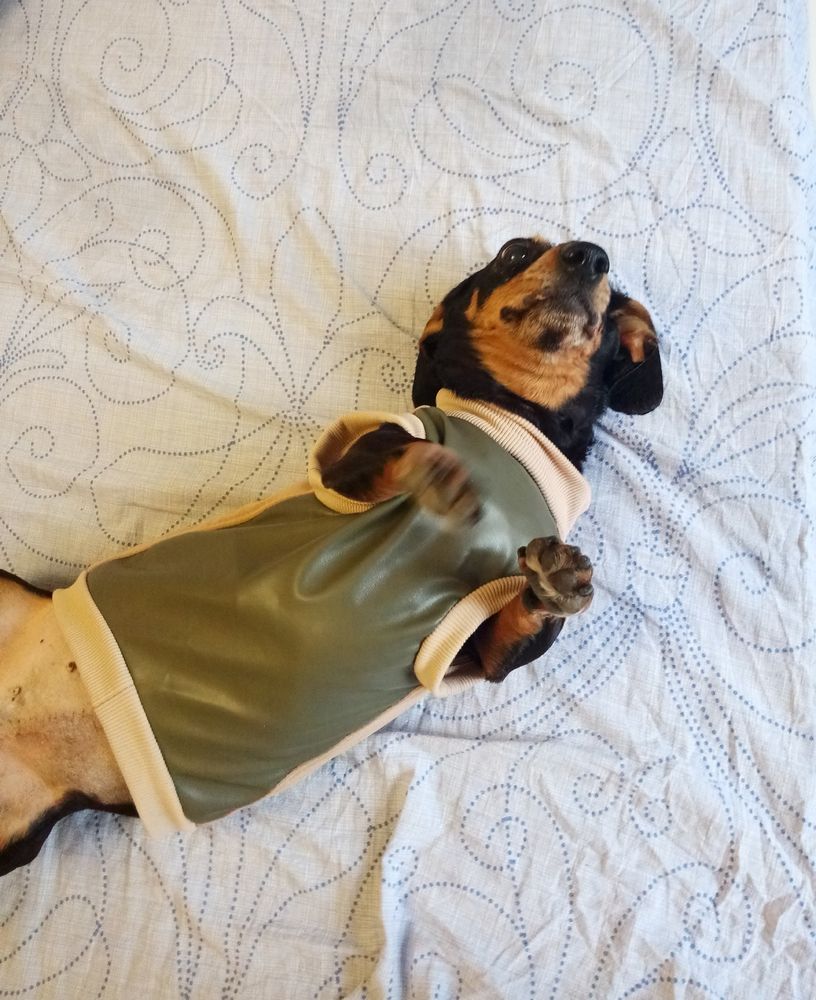
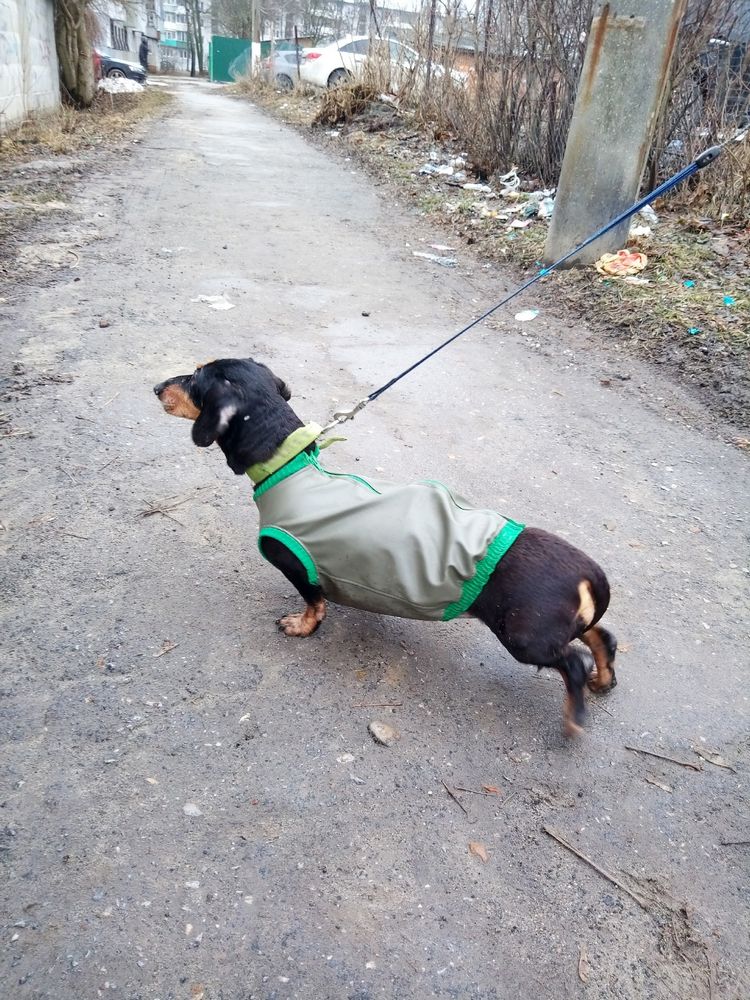
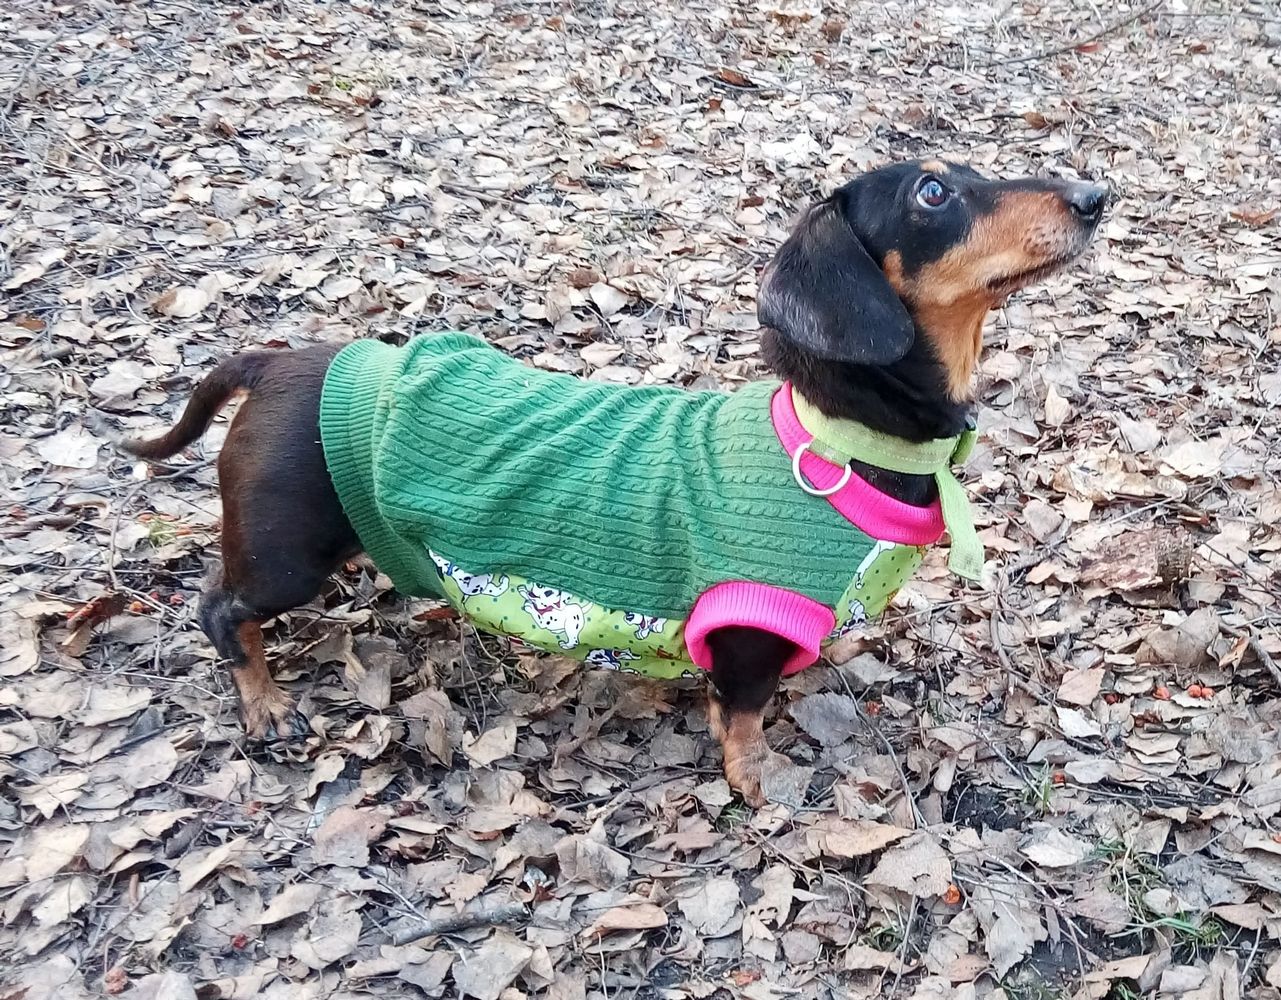
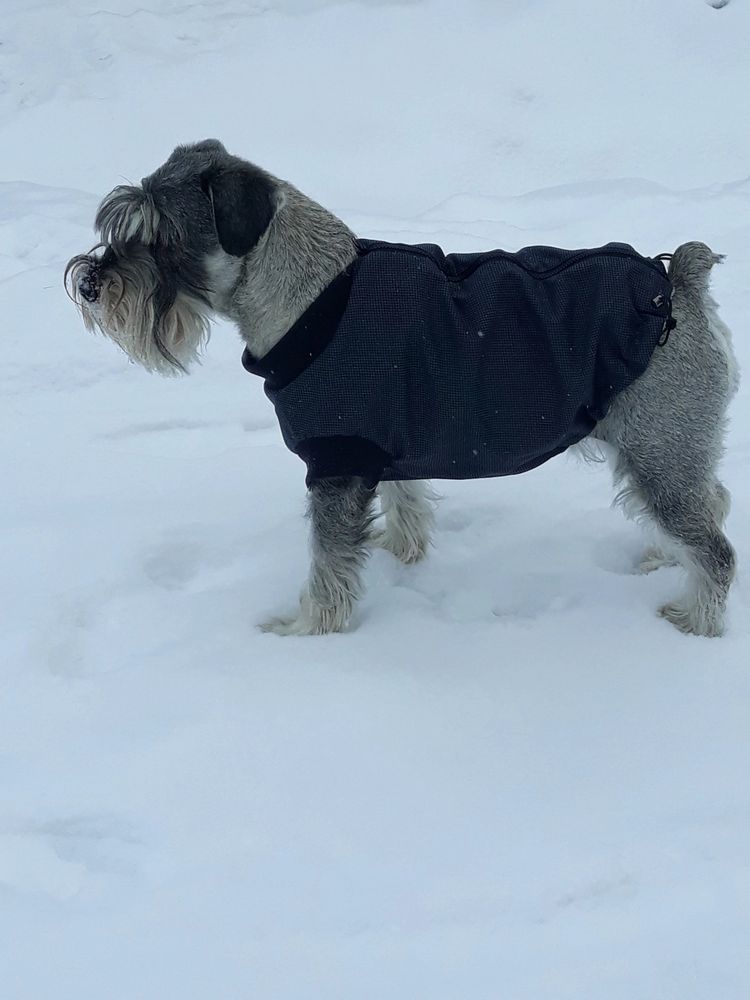
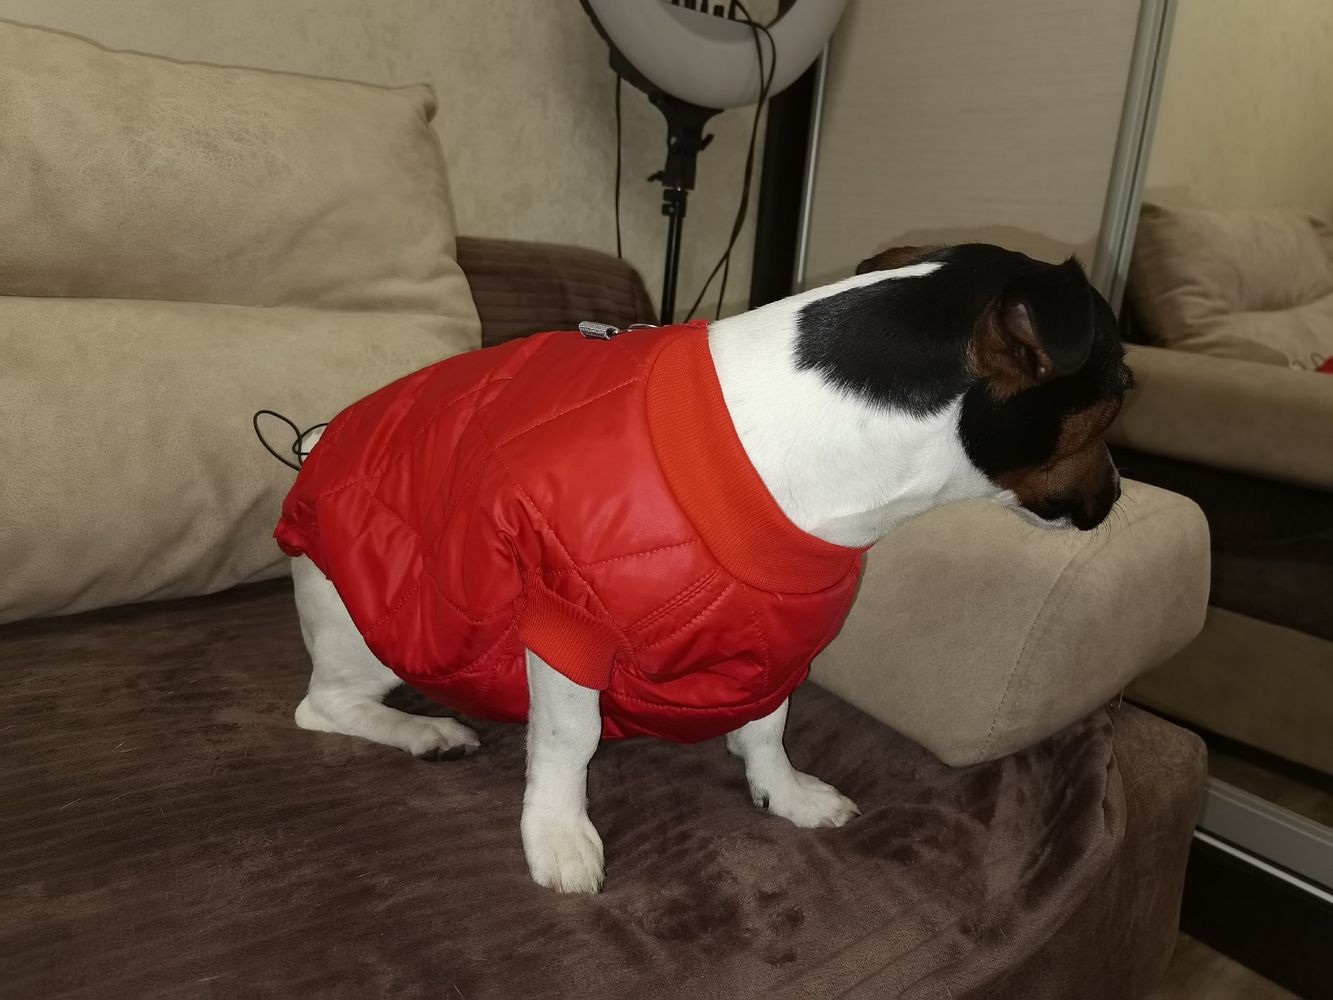
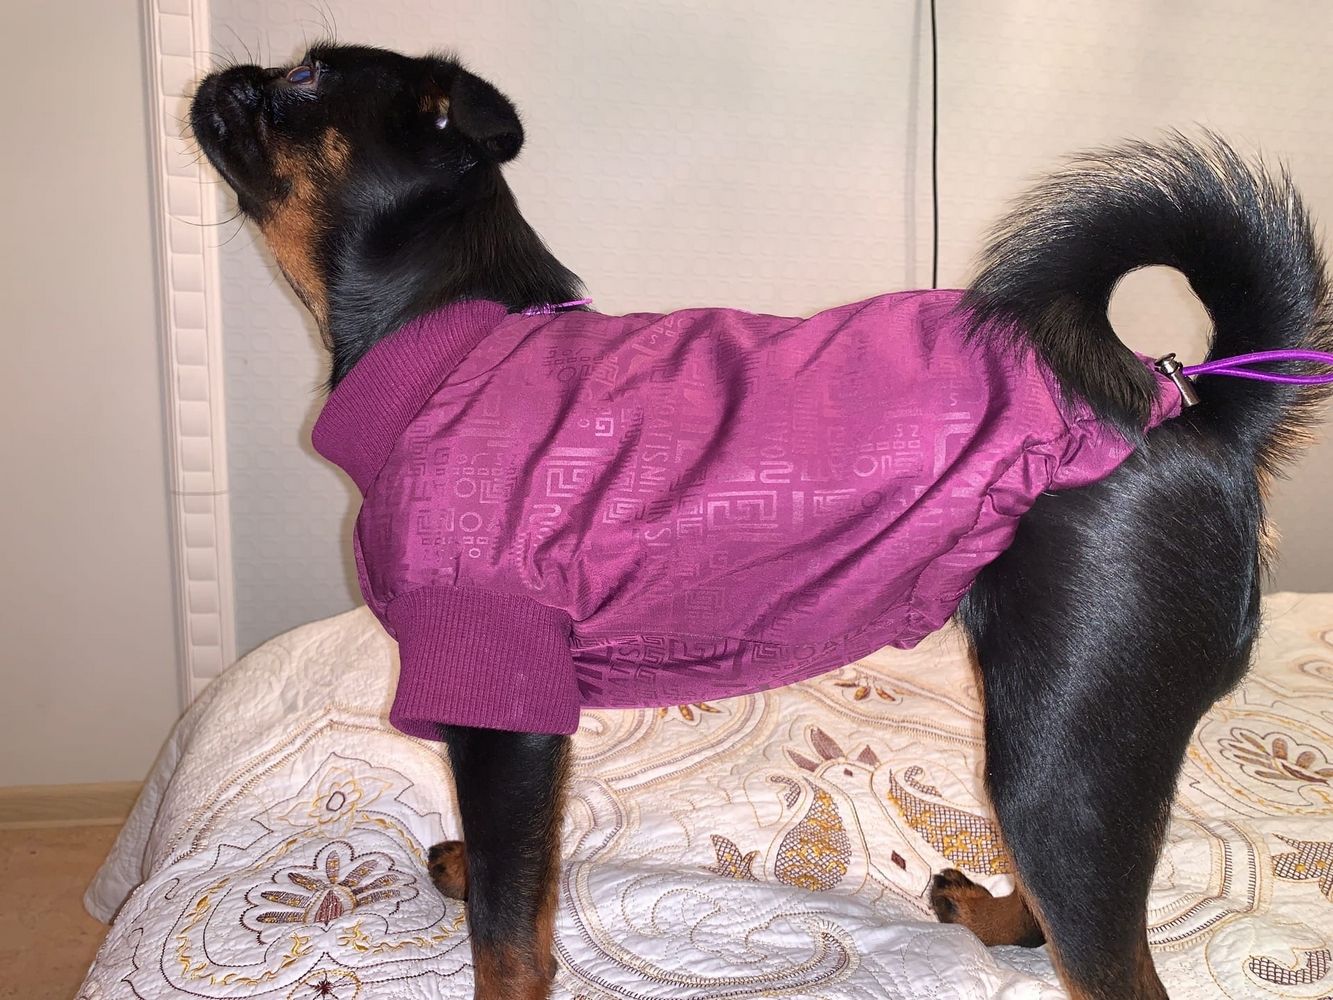
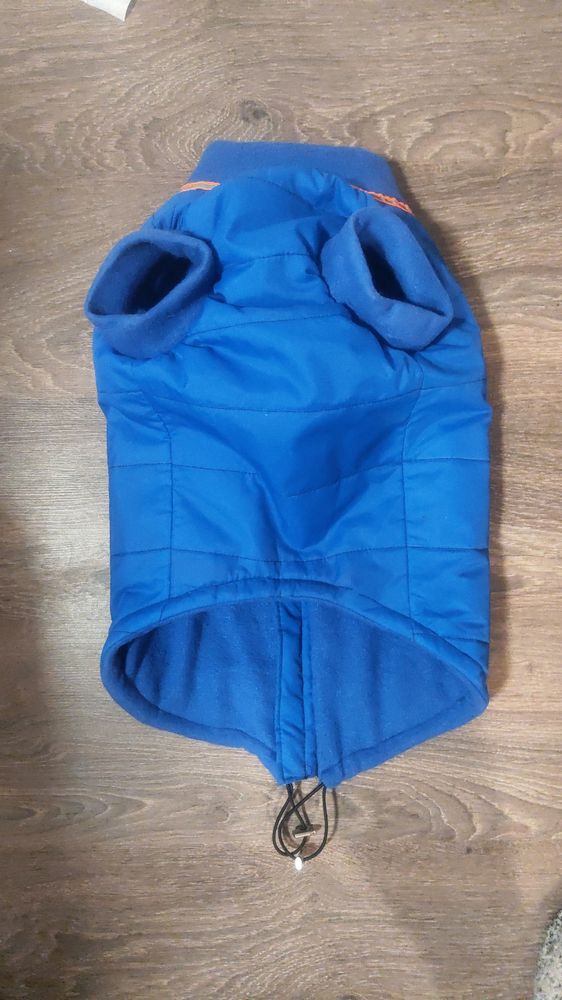
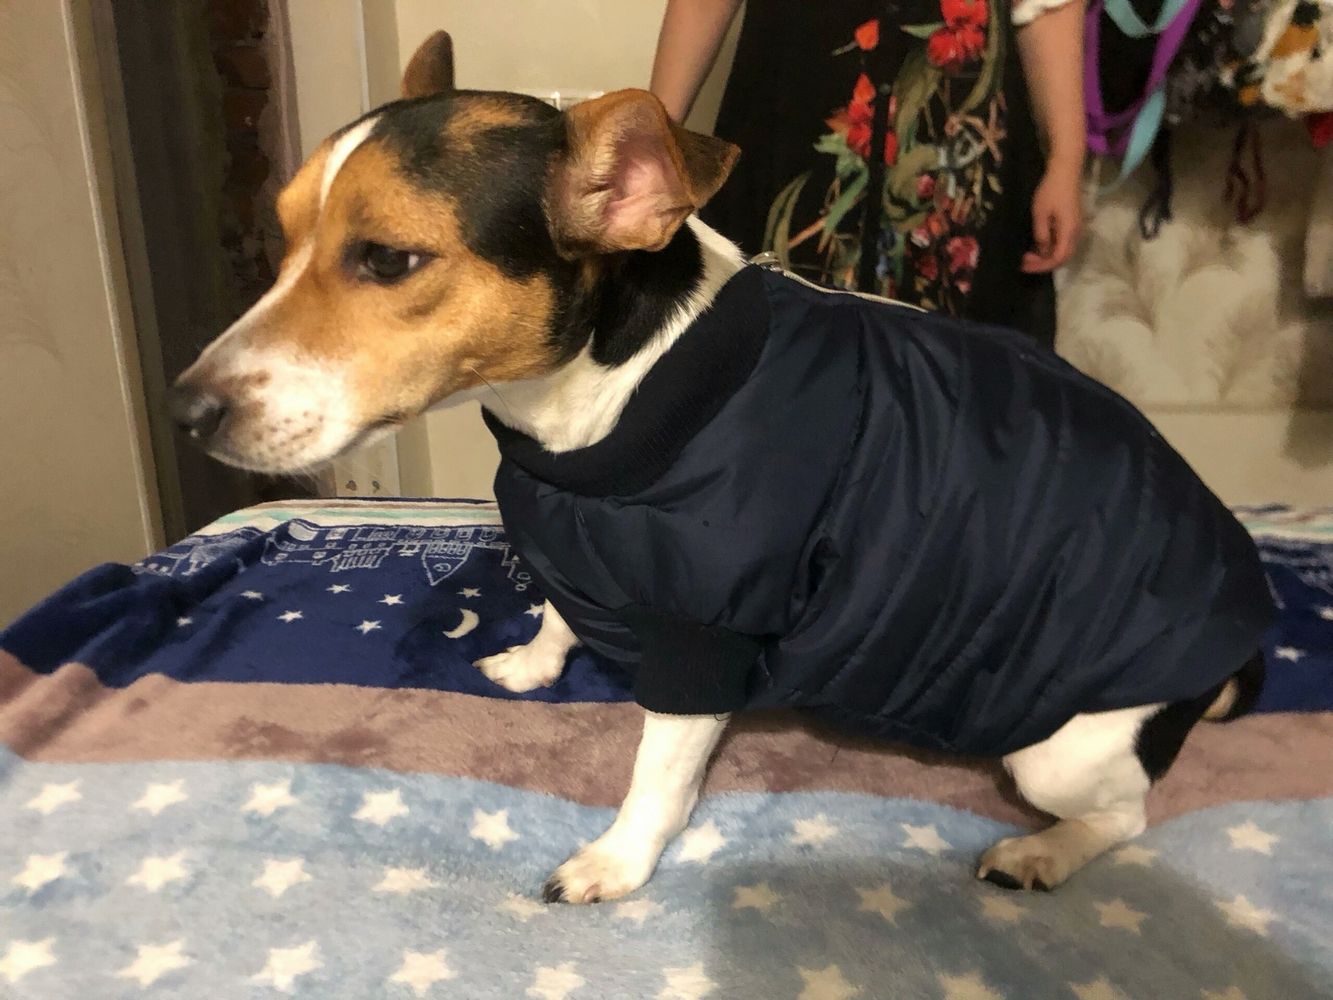
Vest for a dog Zircon
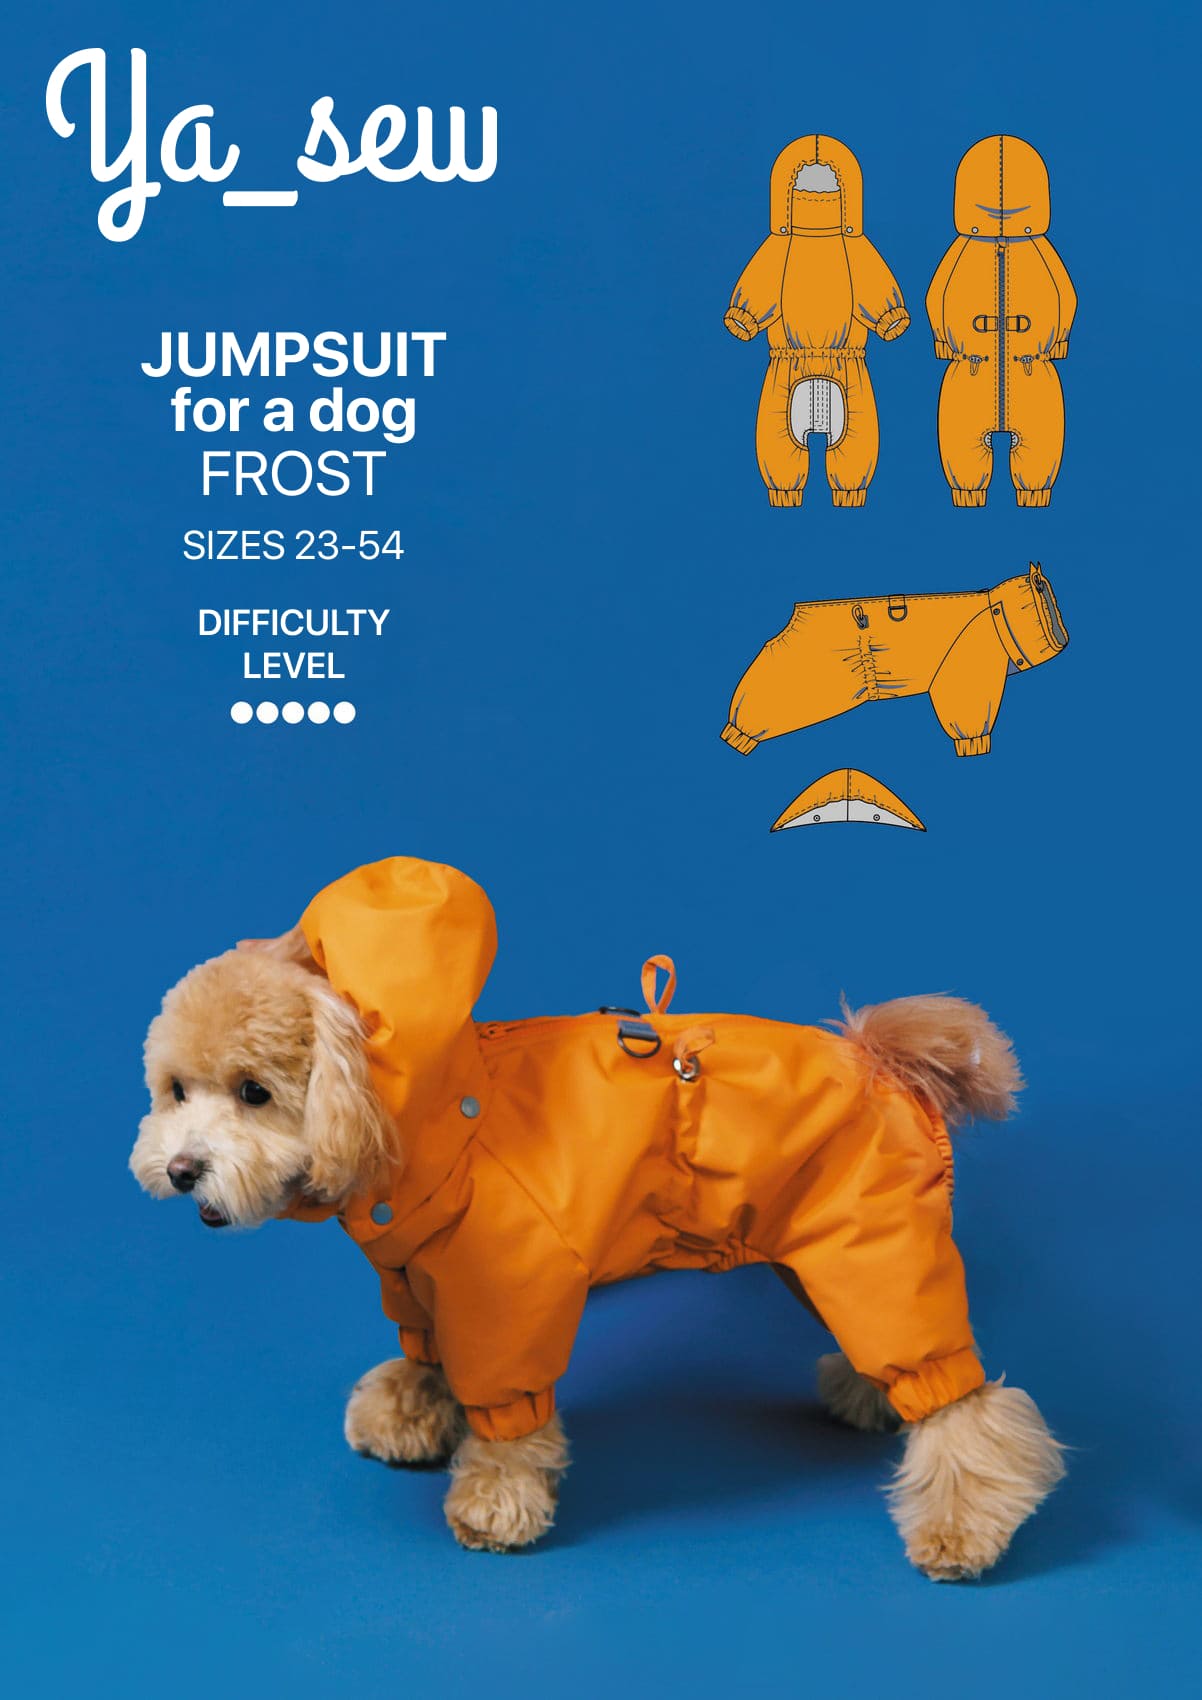
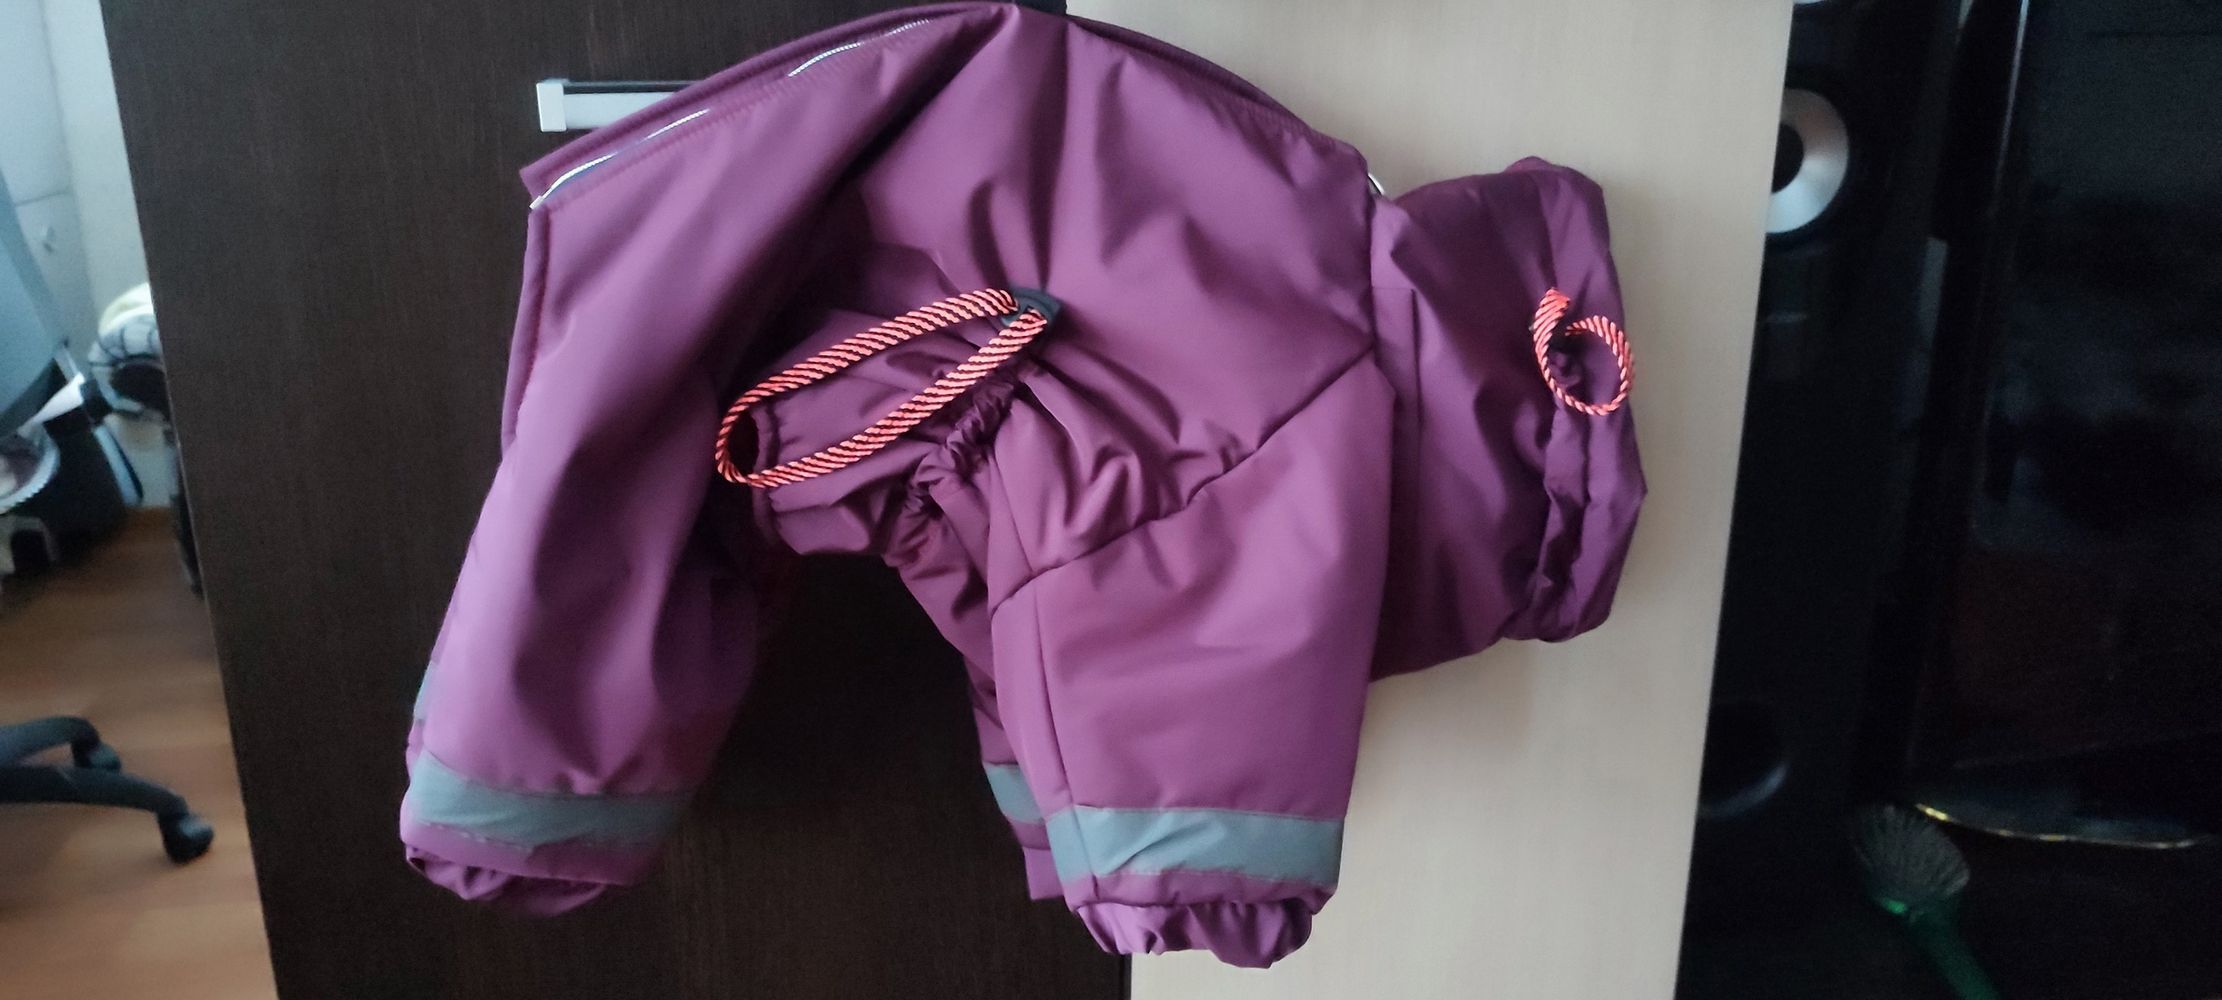
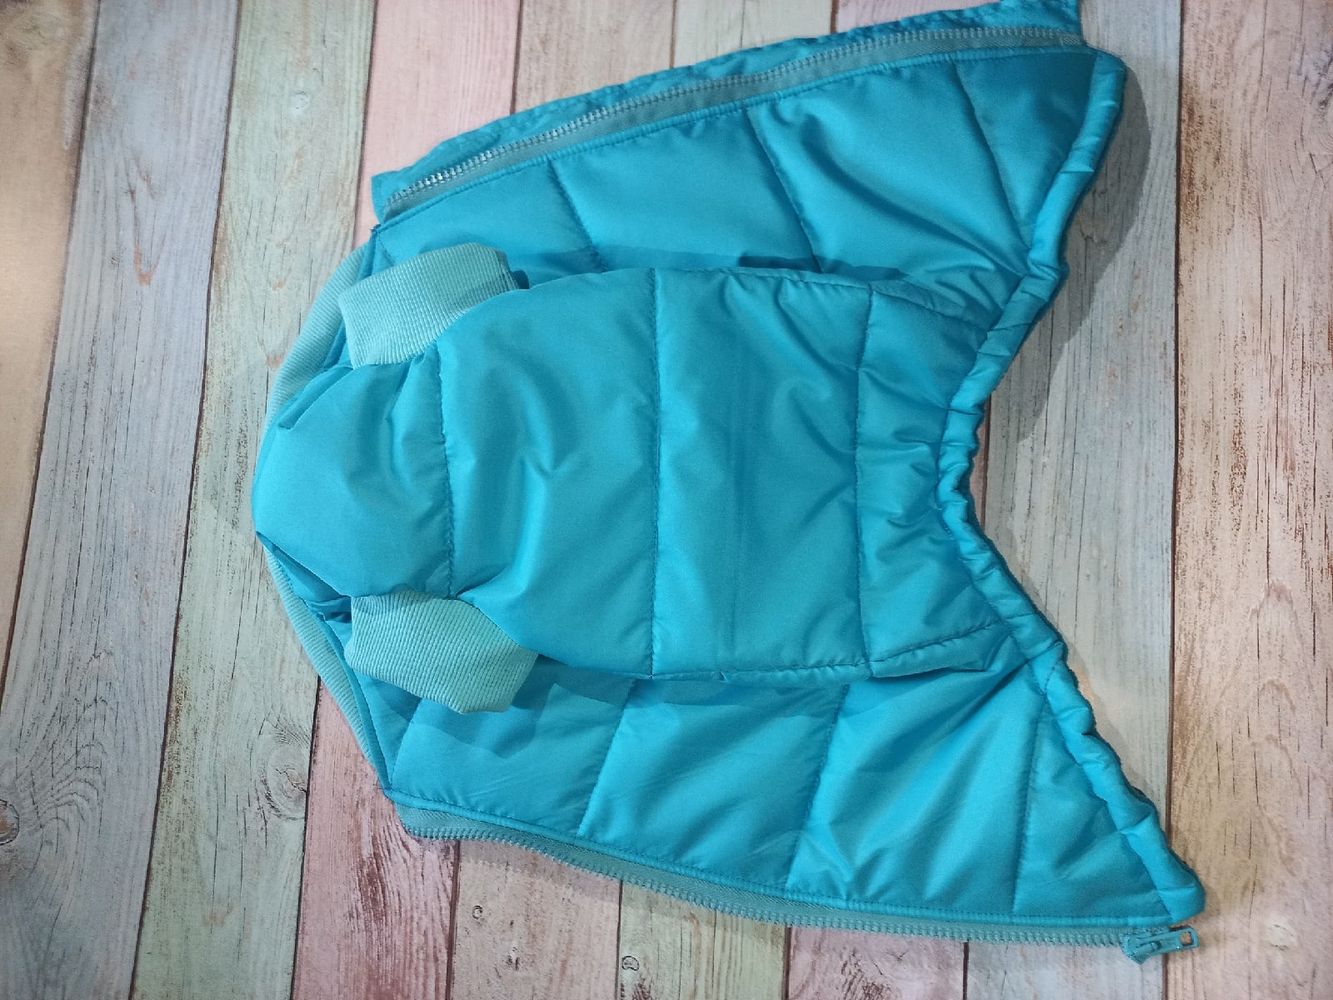
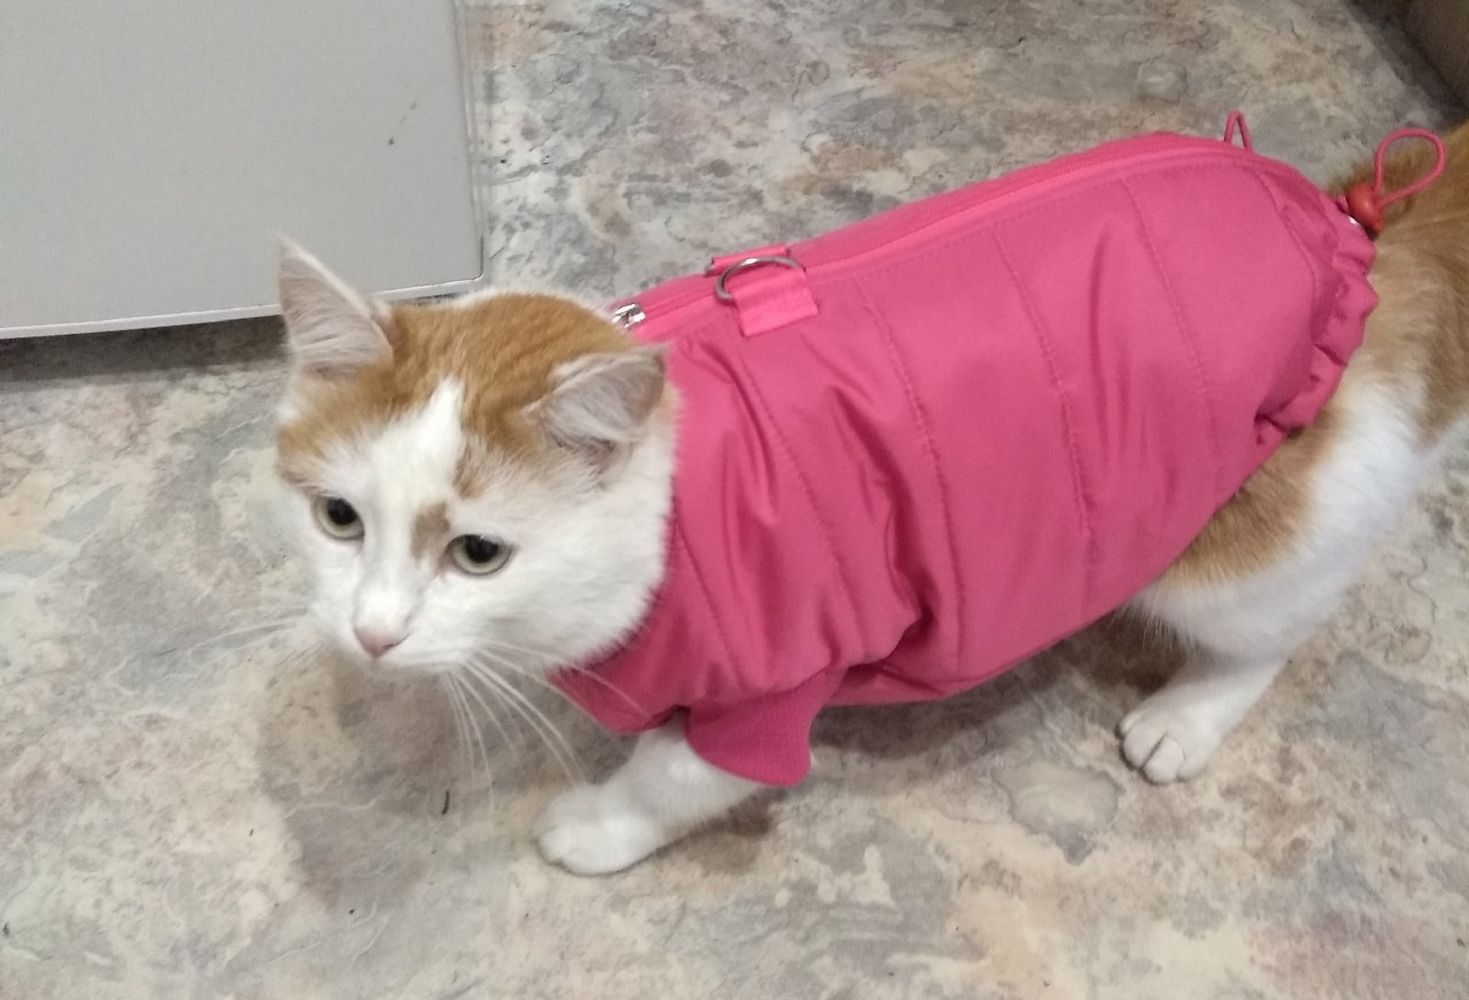
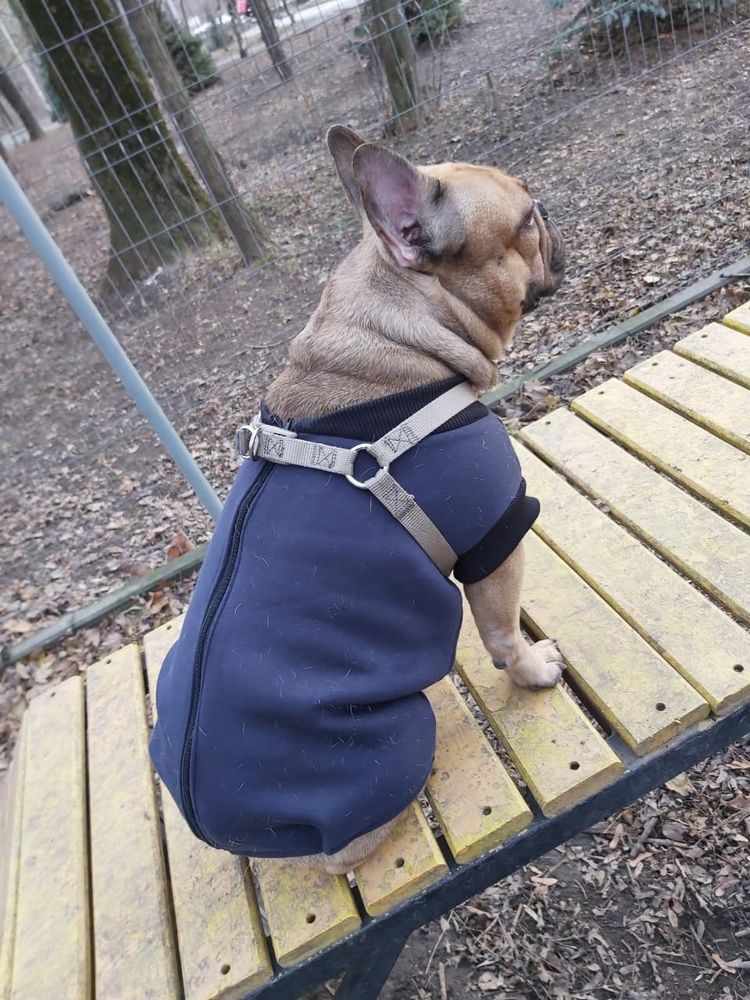
Insulated vest. There is a zipper. Cuffs and a collar are made of kashkorse fabric. There is a drawstring along the lower part of the garment.
- Difficulty Level:
Pet Size (Back Length / Chest Girth in cm):
-
23/31
-
27/37
-
31/43
-
35/49
-
39/56
-
42/62
-
46/68
-
50/74
-
54/80
-
-
Recommended fabrics
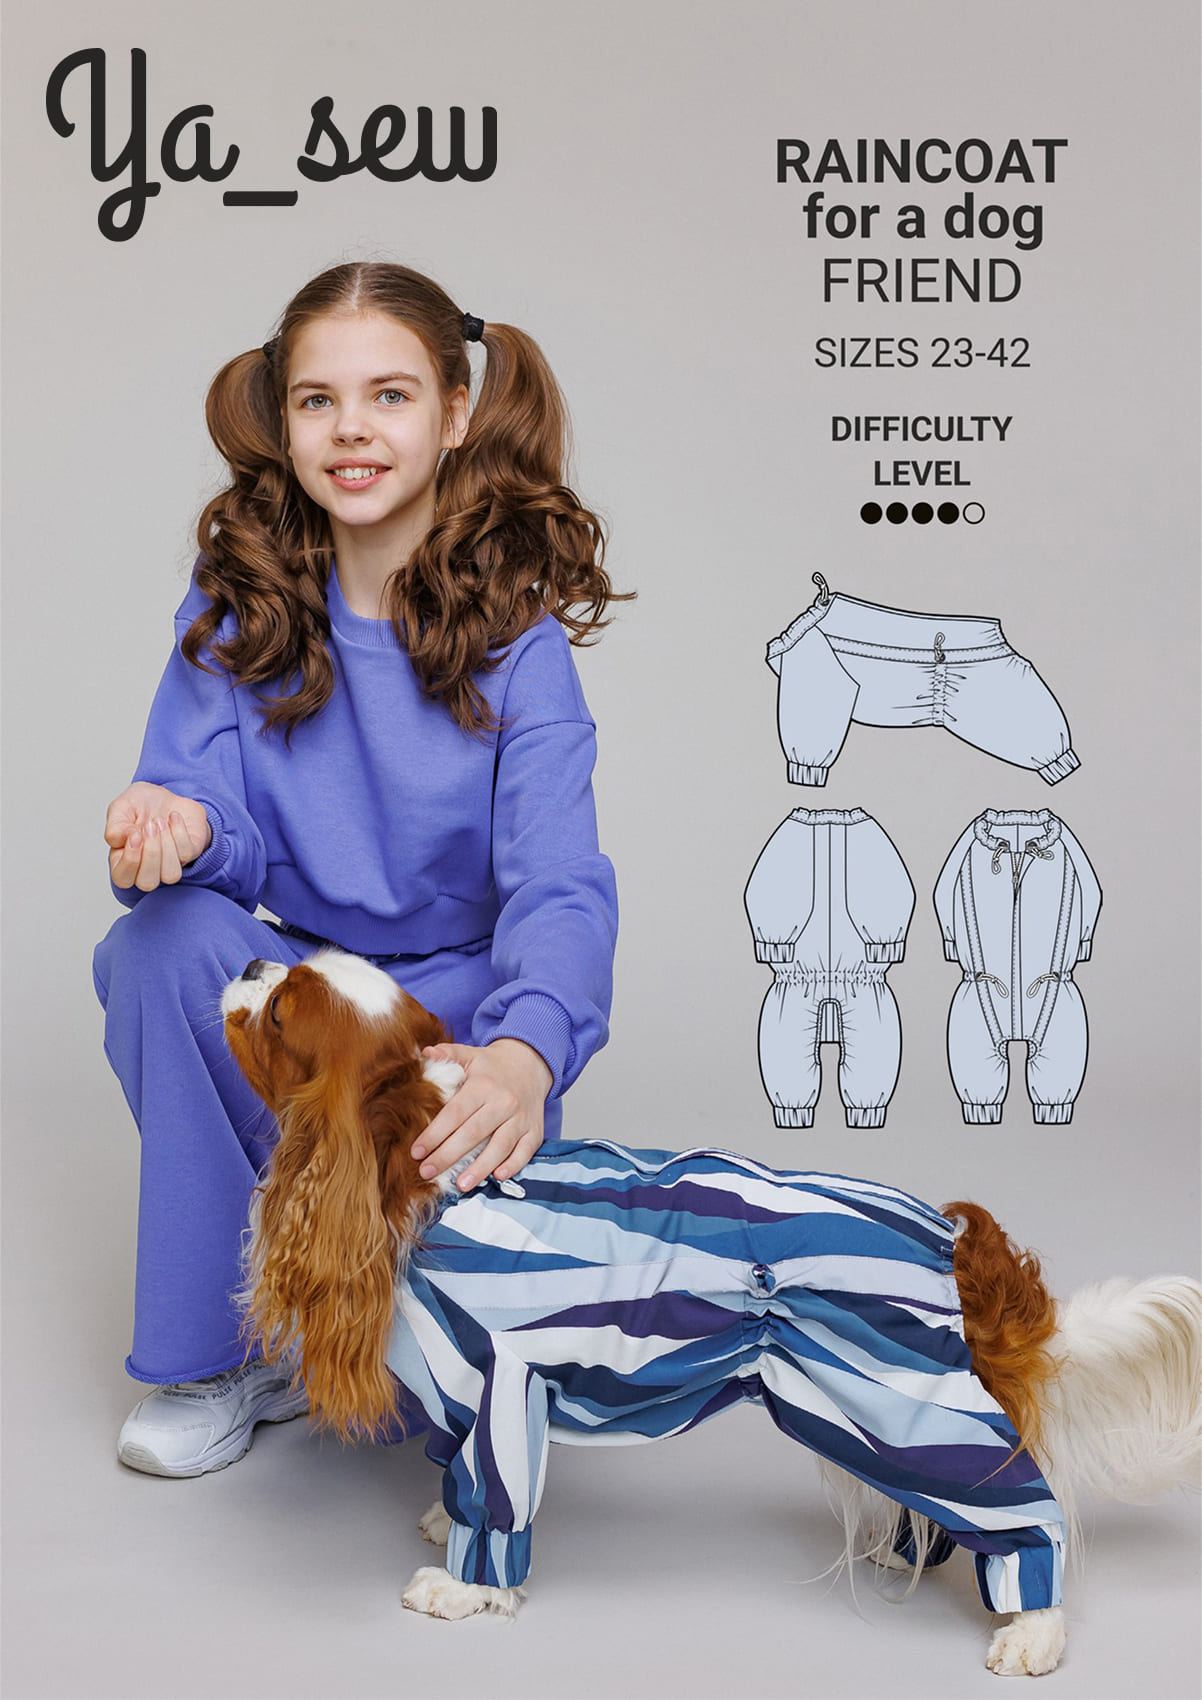
Raincoat fabrics.
We used: Raincoat fabric, kashkorse, lining viscose, and alpolux insulation 100 g/m2.
Fabric yardage
Main fabric, alpolux insulation, and lining fabric - length 0.35 m (23) - 0.7 m (54) with width 1.5 m; kashkorse - length 0.1 m with width 0.6 m.
Wearing ease
Along the chest - 5.5 cm (23) - 6.5 cm (54).
Additionally:
- threads - 2 spools;
- detachable zipper tape 30-50 cm - 1 pc;
- grommets- 2 pcs;
- bride - 1 m;
- half-ring - 2 pcs (inner diameter is 2.5 cm);
- sling of 2.5 cm wide - 0.1 m;
- retainers - 2 pcs.
Allowances
For seams - 1 cm; for finishing - 0.7 cm.
Equipment
Sewing machine (SM), four-thread overlock (FO), and a presser for installing accessories.
Tailoring. Video Tutorial
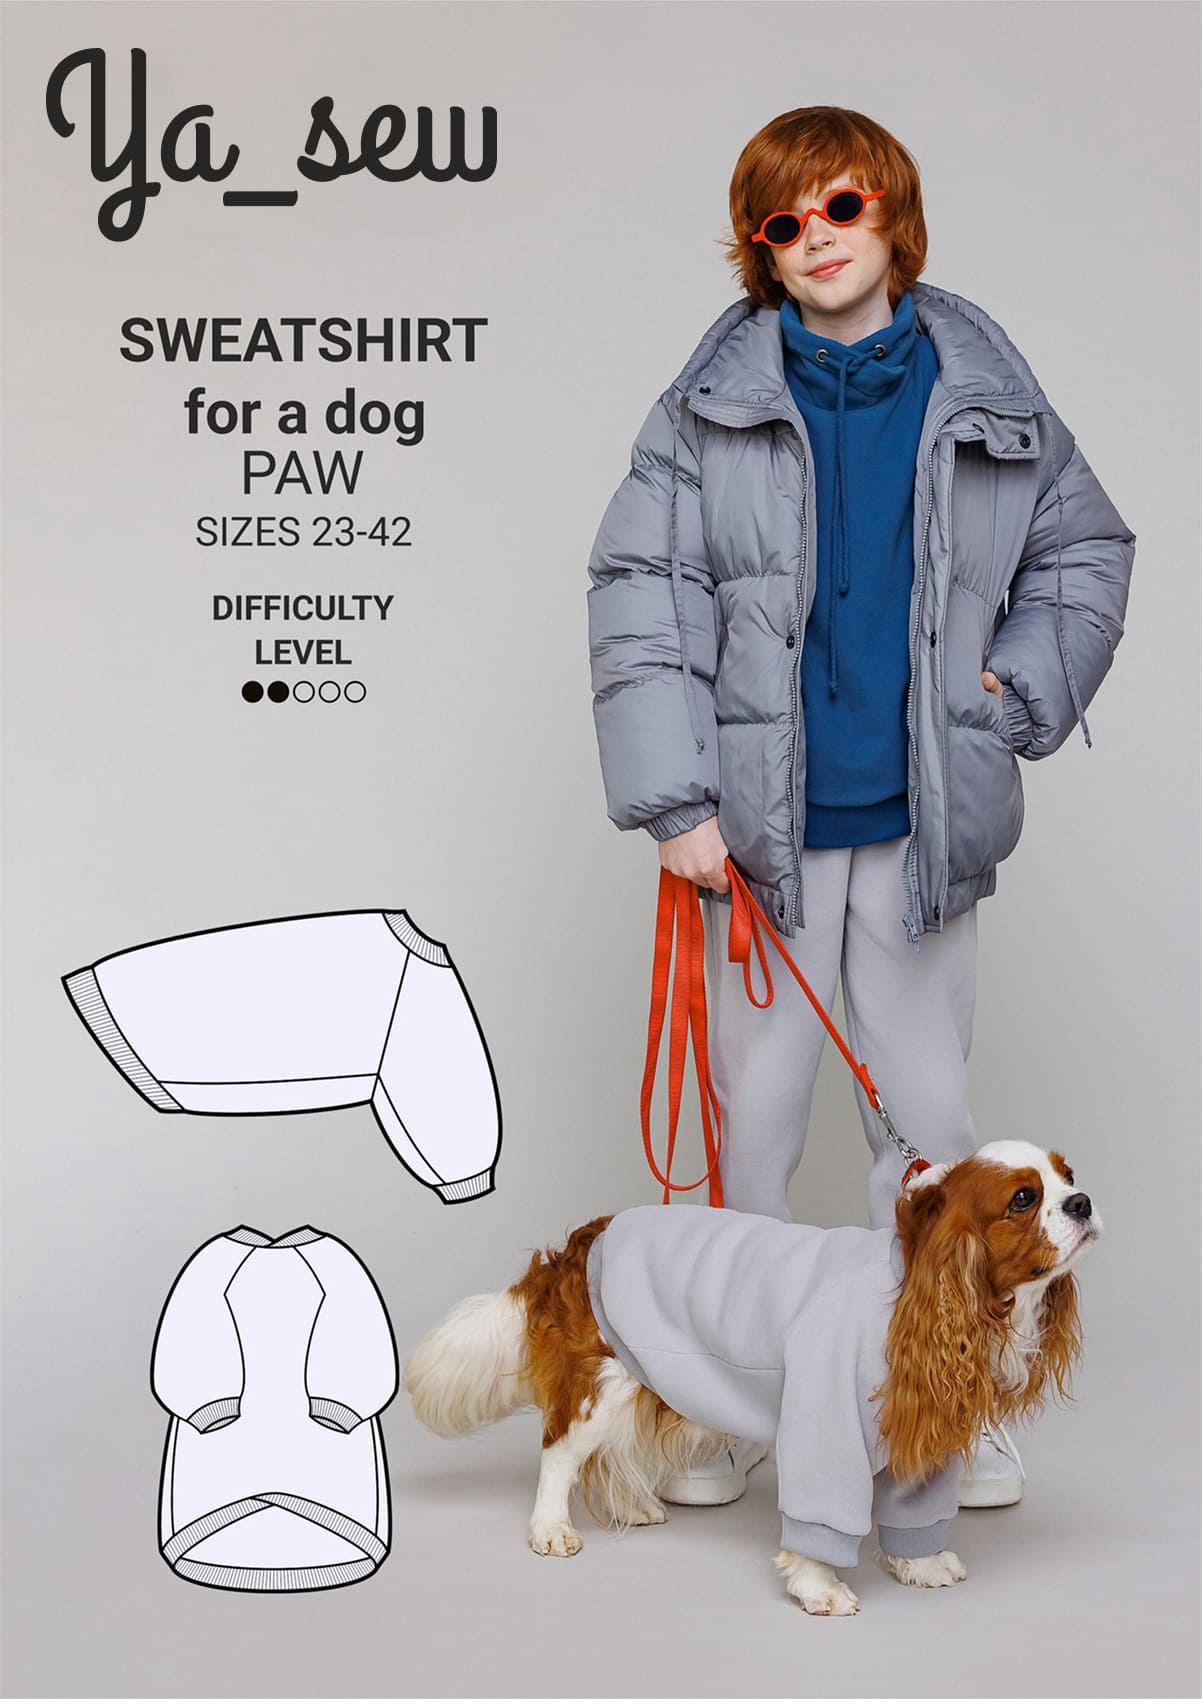
- Mark 3-4 horizontal stitching lines evenly on the back detail and fronts.
- Stitch the back detail and fronts of the main fabric to the insulation at 0.5 cm from the edge, and then stitch along the marked lines.
- Stitch the details together, matching up the seams.
- Stitch the cuff into a ring (SM). Press the allowances open. Then fold the details lengthwise in half and press them.
- Stitch the cuffs to the main garment (FO).
- Press the stand collar lengthwise in half and stitch the collar to the garment neckline at 1 cm from the back middle edge.
- Cut two parts of 5 cm long from the sling for the loops, thread them into the half-rings, and baste the edges to the markings on the upper edges of the back detail.
- Pin the zipper tapes to the back detail upper edges and stitch the details together, leaving allowances for finishing the hem and neckline of the garment. The slider with the fastened zipper should be at the neckline level.
- Stitch the placket edges together, putting the insulation in. Turn out the placket, straighten it, and match up the unfinished edges. Topstitch at 0.5 cm from the placket edge.
- Stitch the placket to the zipper tape (with the slider), placing it under the zipper tape and matching up the placket edge with the collar seam.
- Mark the location of the grommets. Install the eyelets.
- Lining. Stitch the body side and shoulder edges together, leaving a hole for turning out in one of the body side seams. Press the allowances open.
- Stitch the lining to the main garment along the armhole edges.
- Stitch the lining to the main garment through the neckline in three steps.
- Stitch the lining to the main garment along the back middle edges, stitching along the zipper stitching seam.
- Stitch the lining to the main garment along the hem edges.
- Place the bride between the lining and the upper part of the garment along the hem edge, pull out the edges of the bride through the grommets. Put the retainers on the bride edges and put them into the garment through the grommets. Baste the bride edges to the allowances of the zipper stitching seam.
- Turn out the garment on the front side.
- Topstitch at 3 cm from the hem of the vest, leaving the bride inside.
- Baste the hole in the body side seam of the lining, doing invisible stitches.


Loading comments...