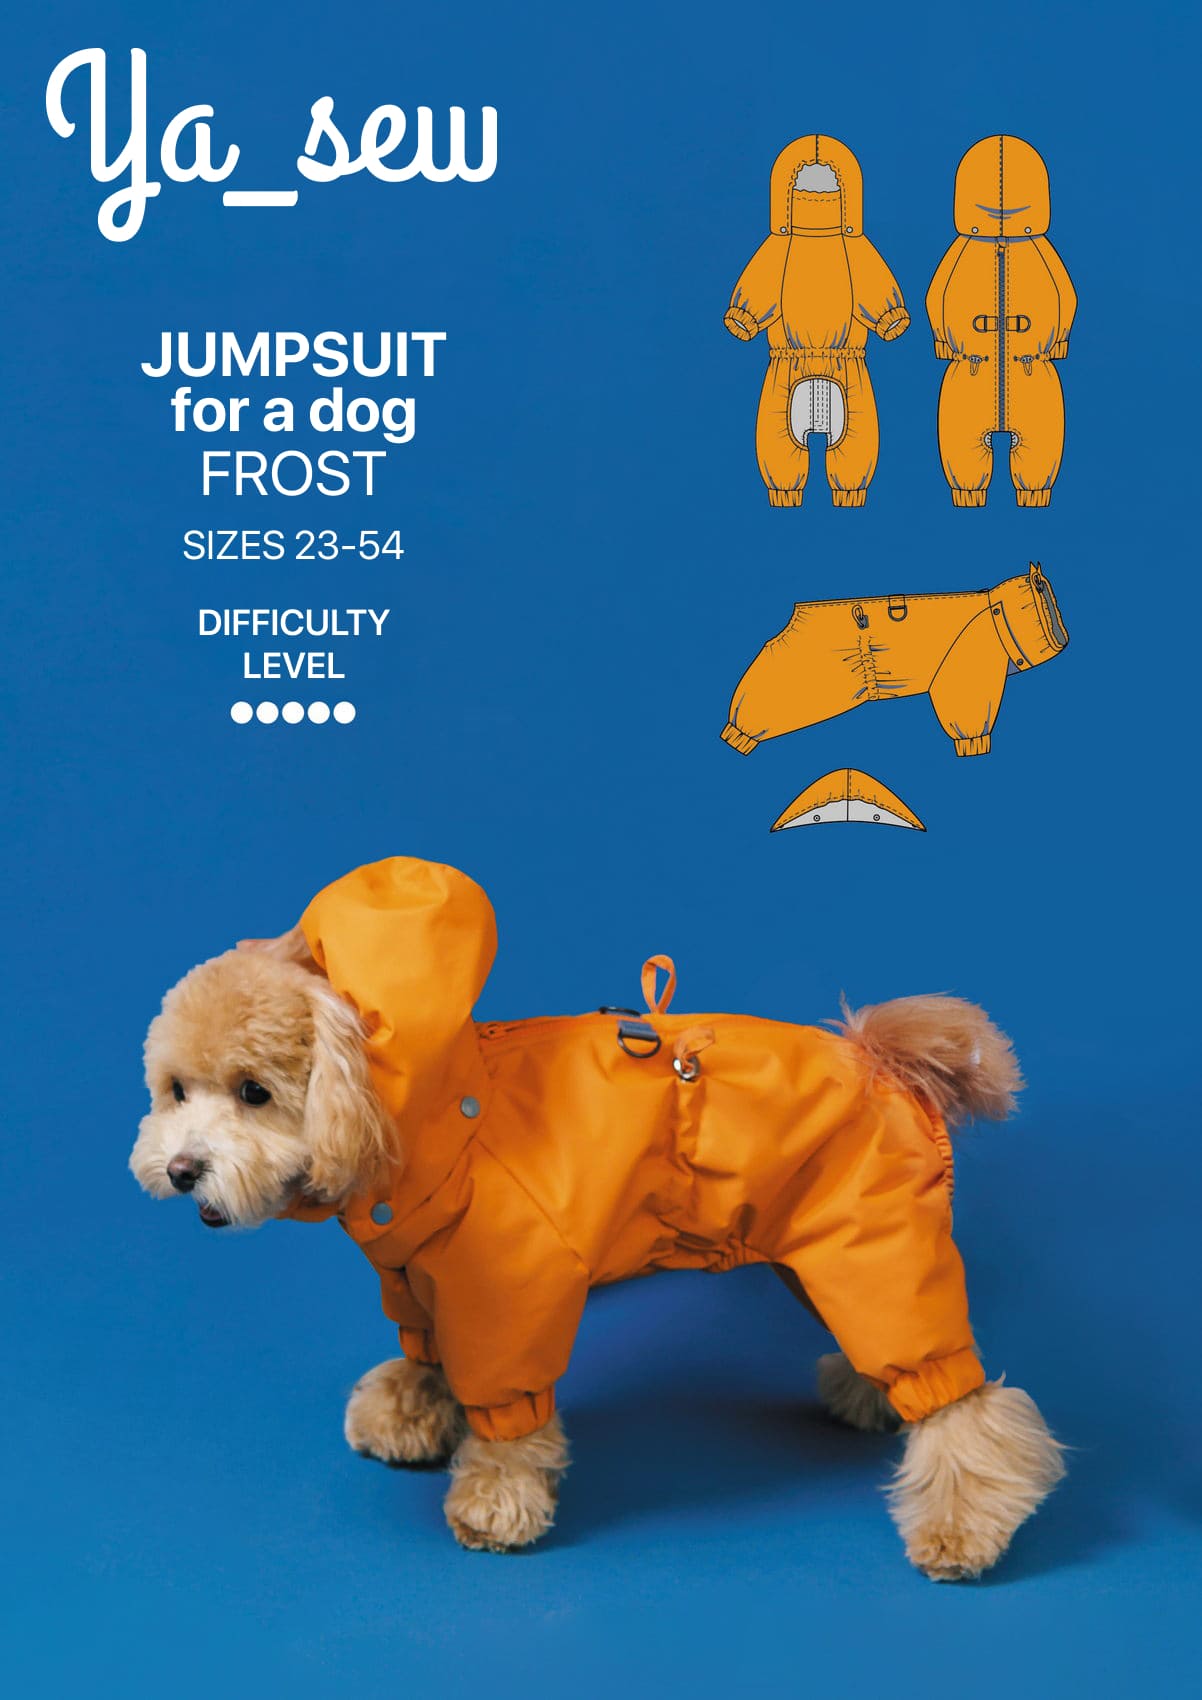
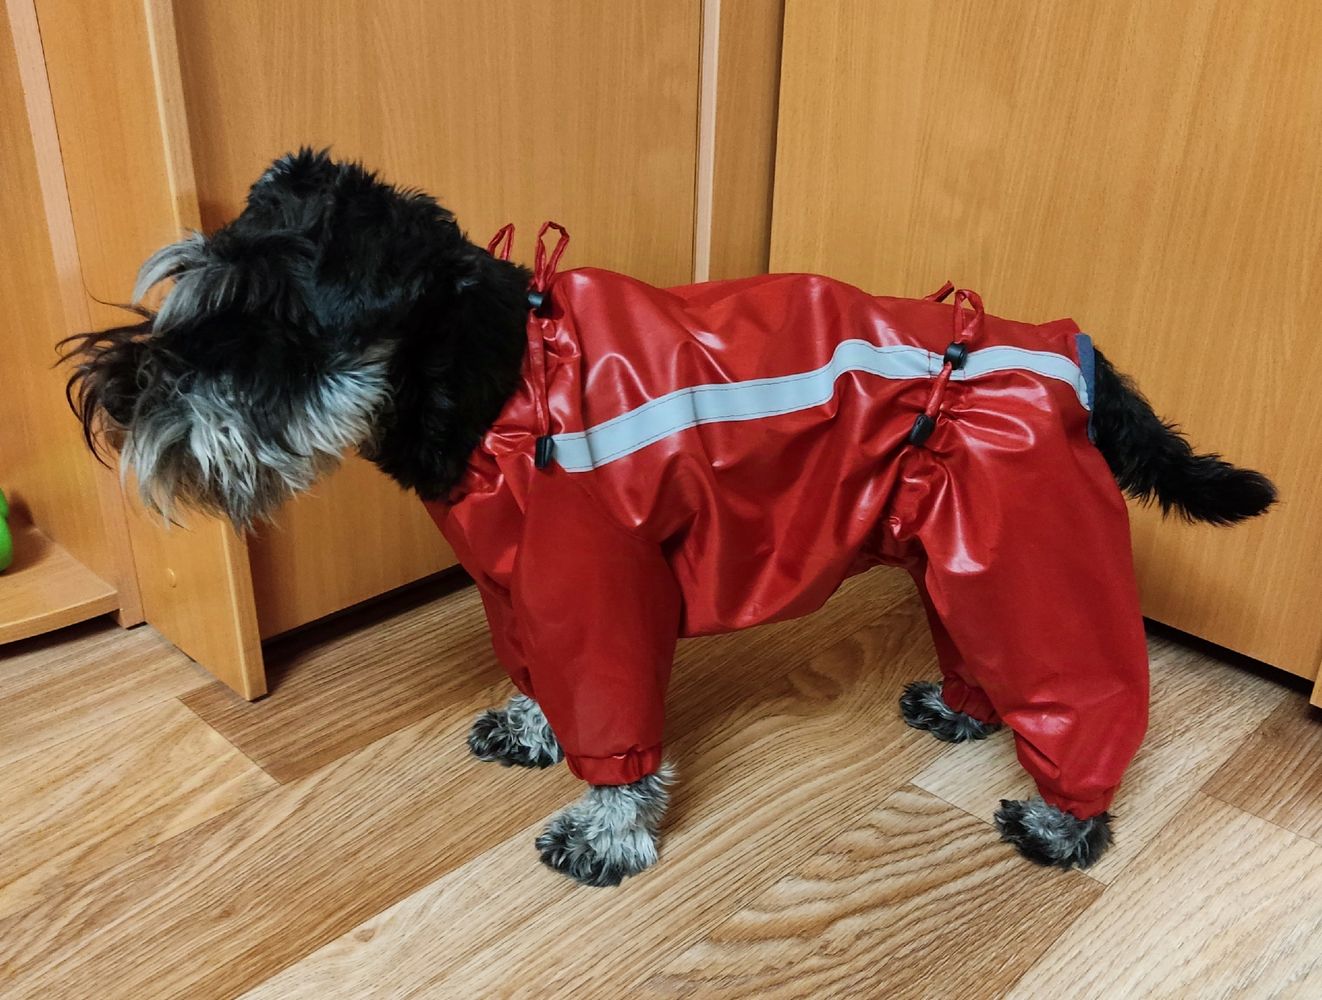
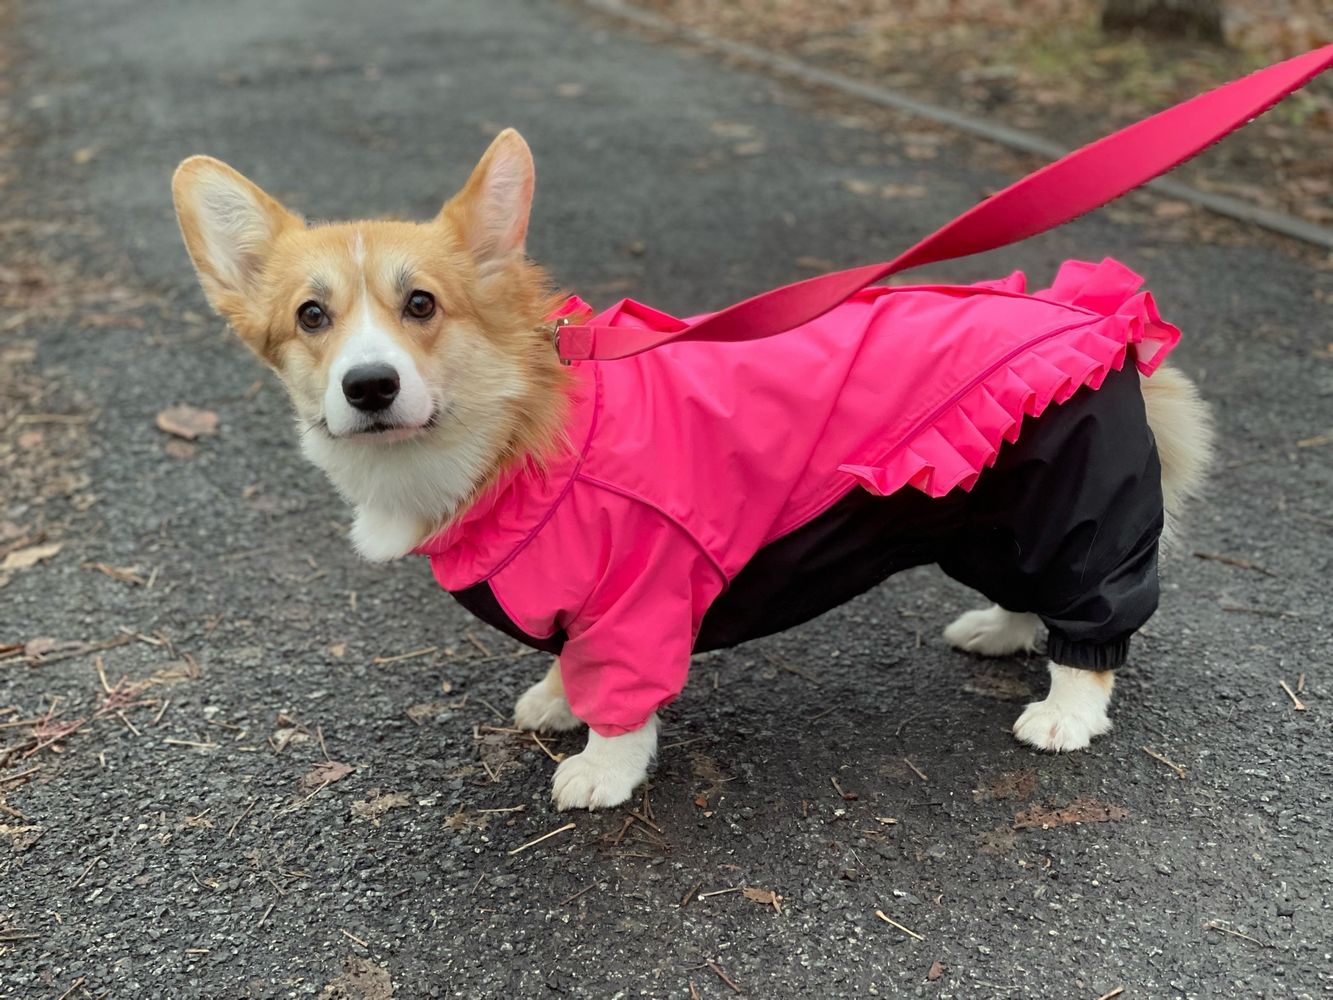
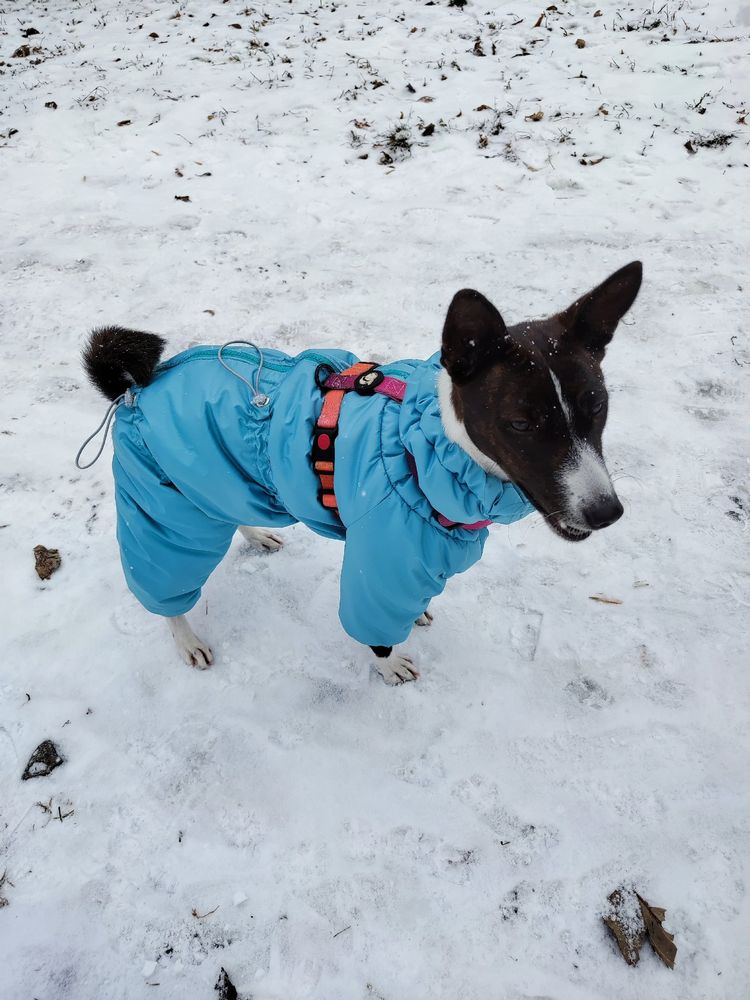
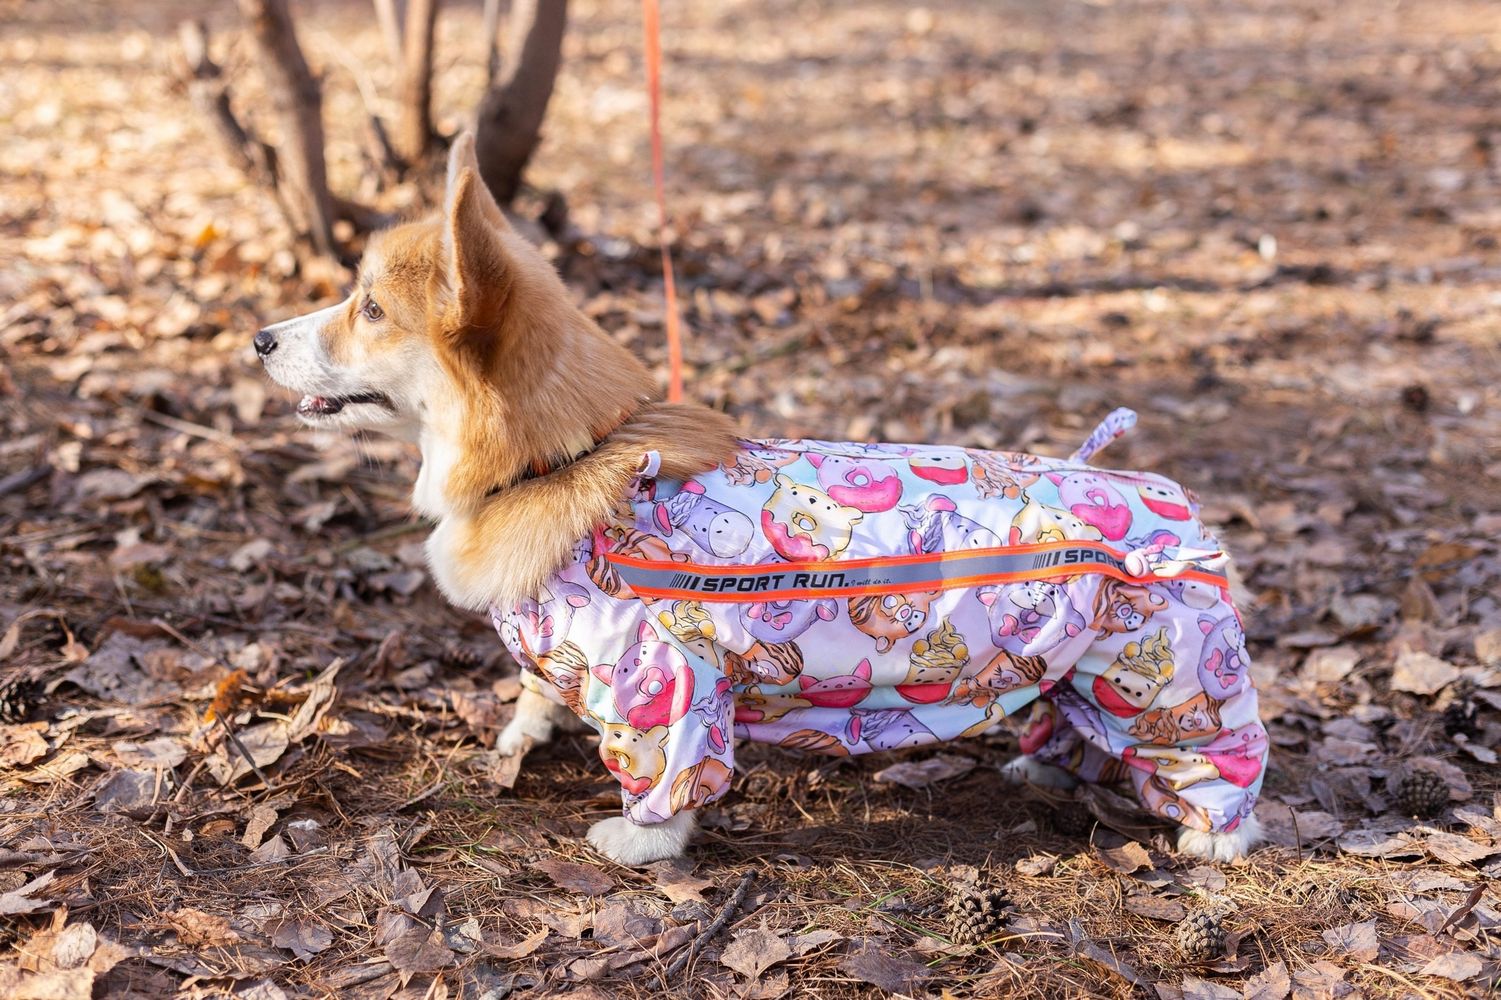
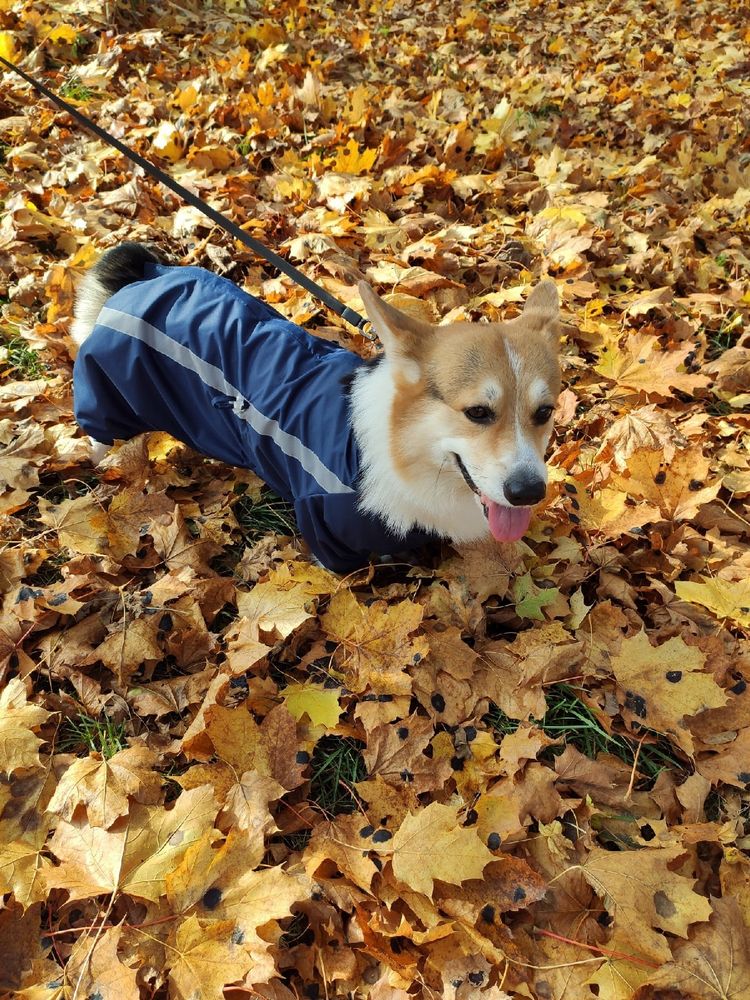
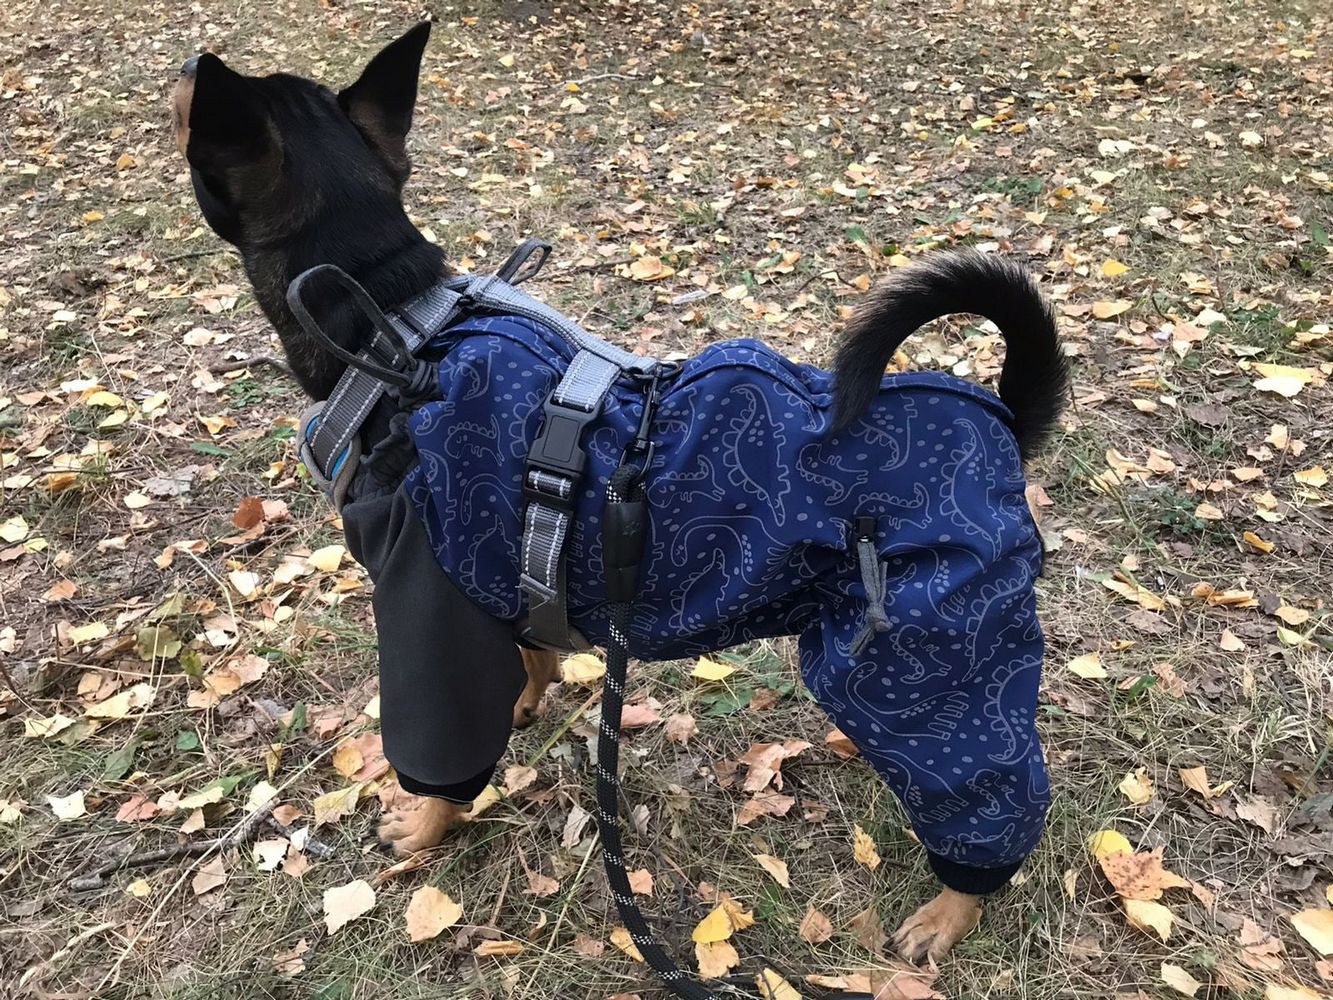
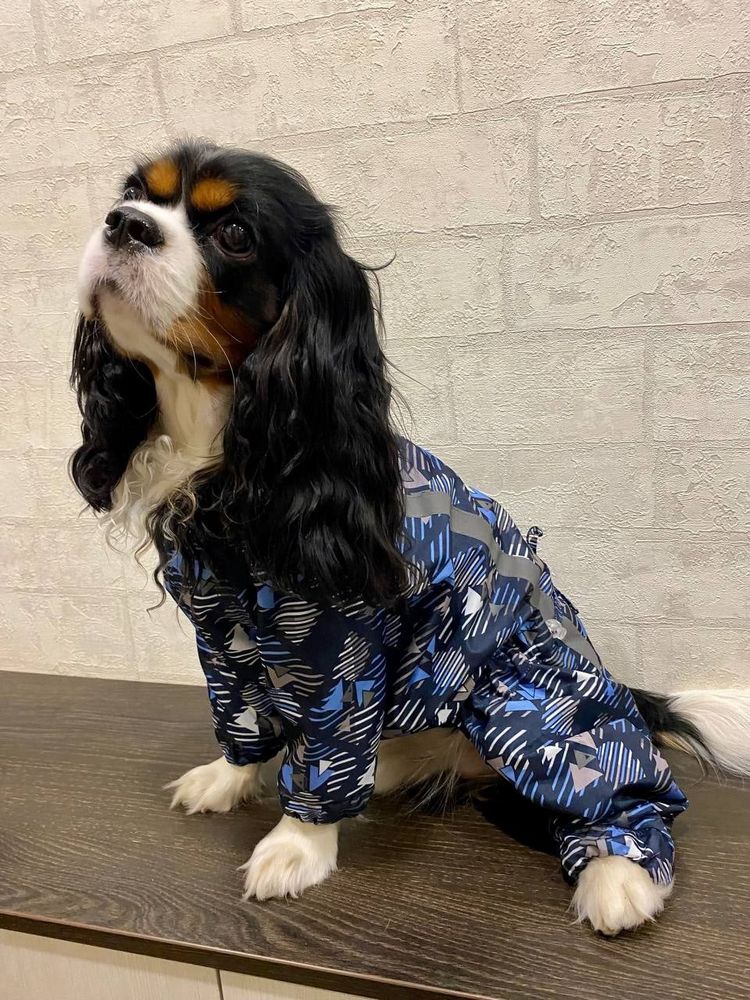
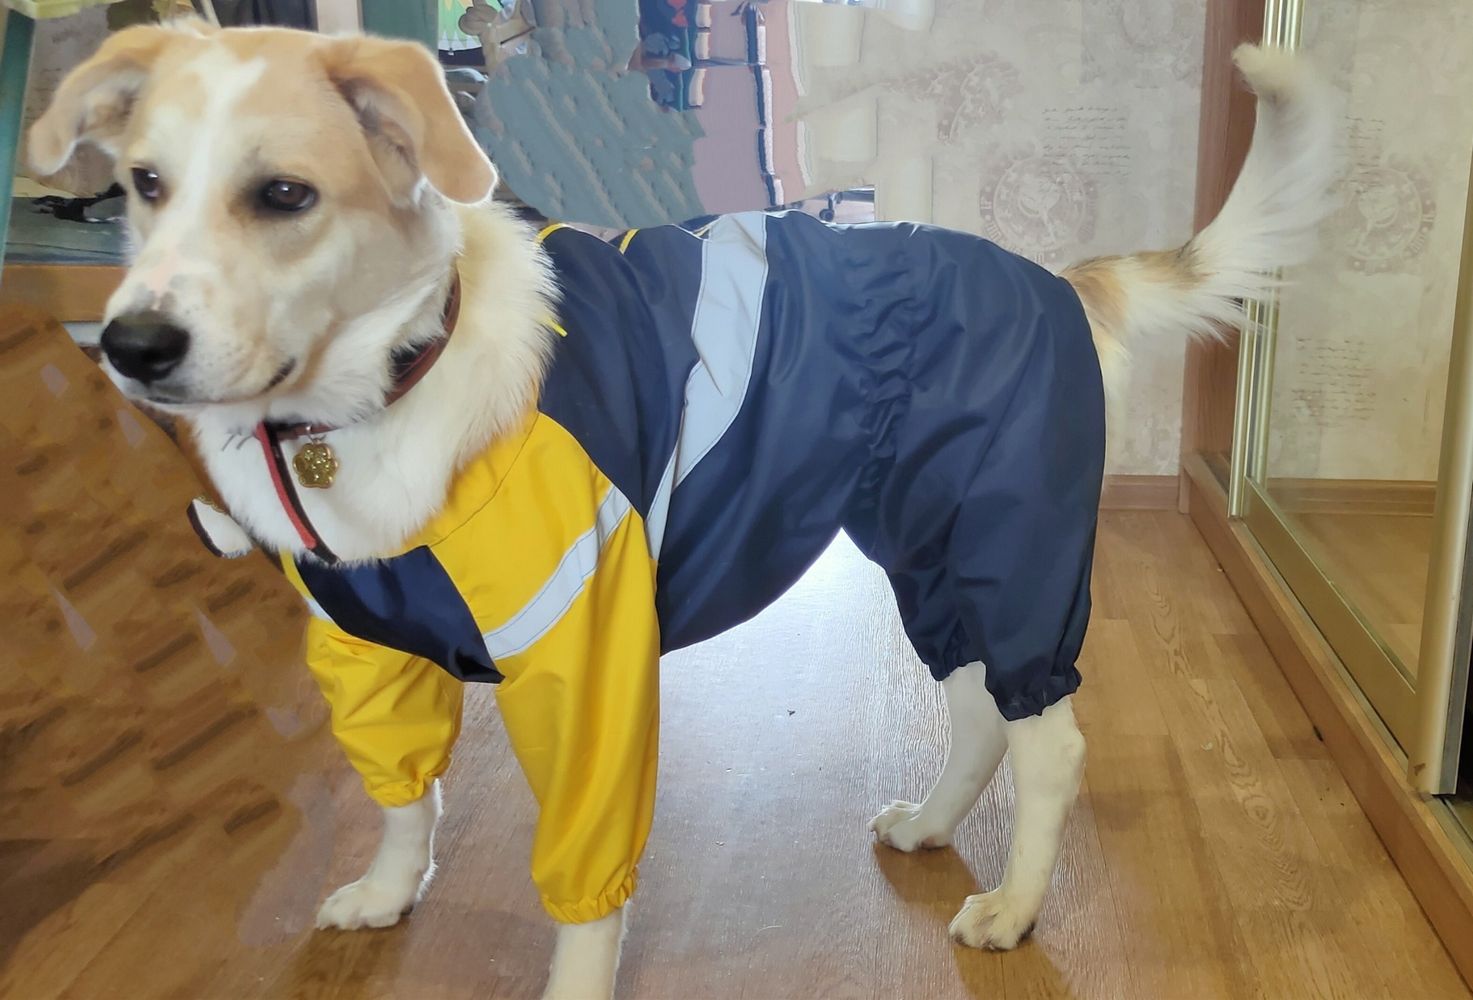
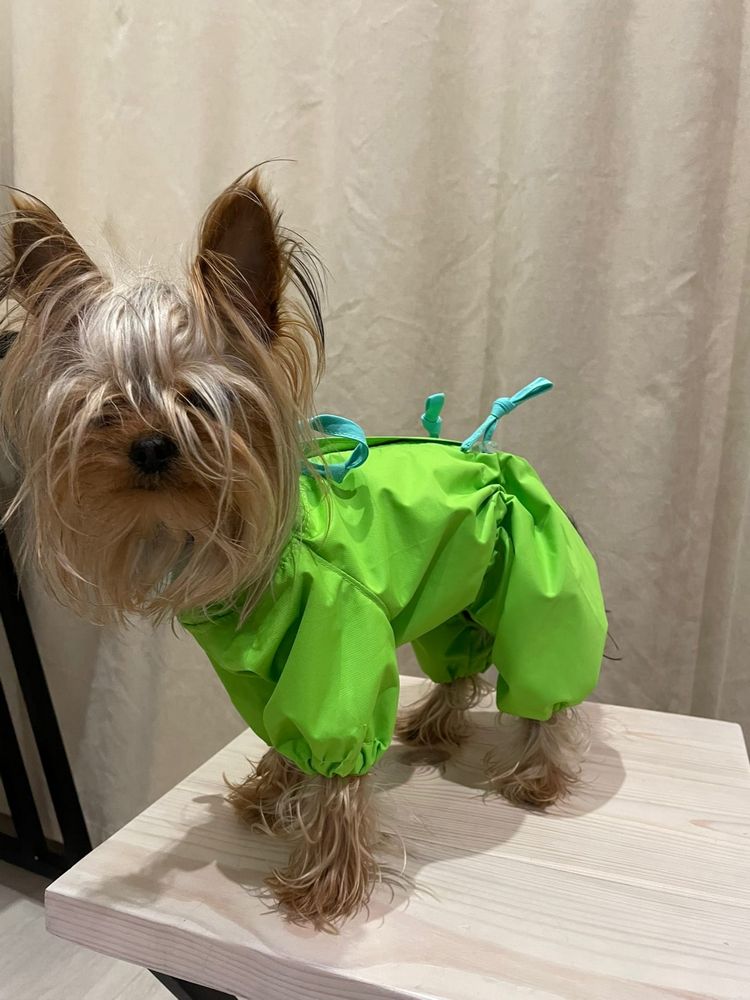
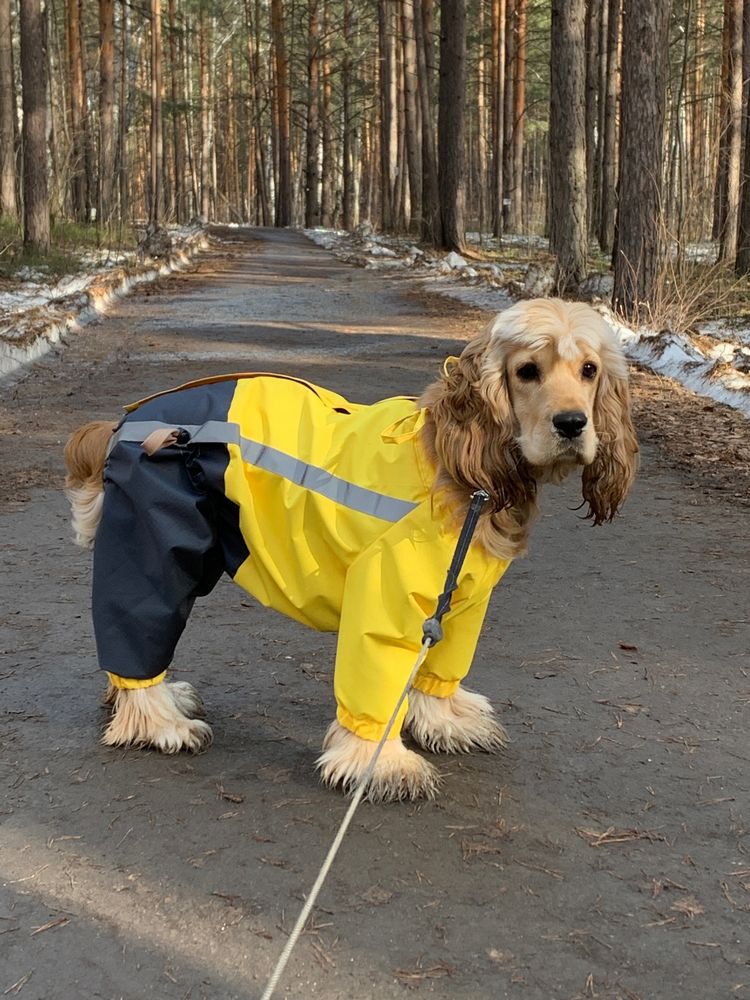
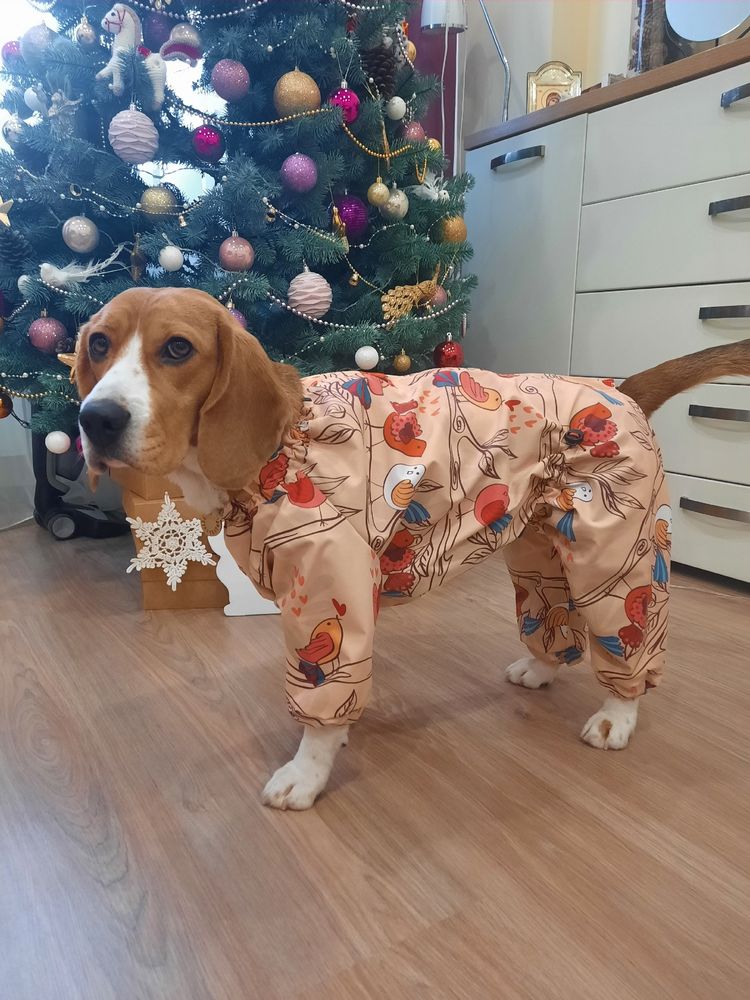
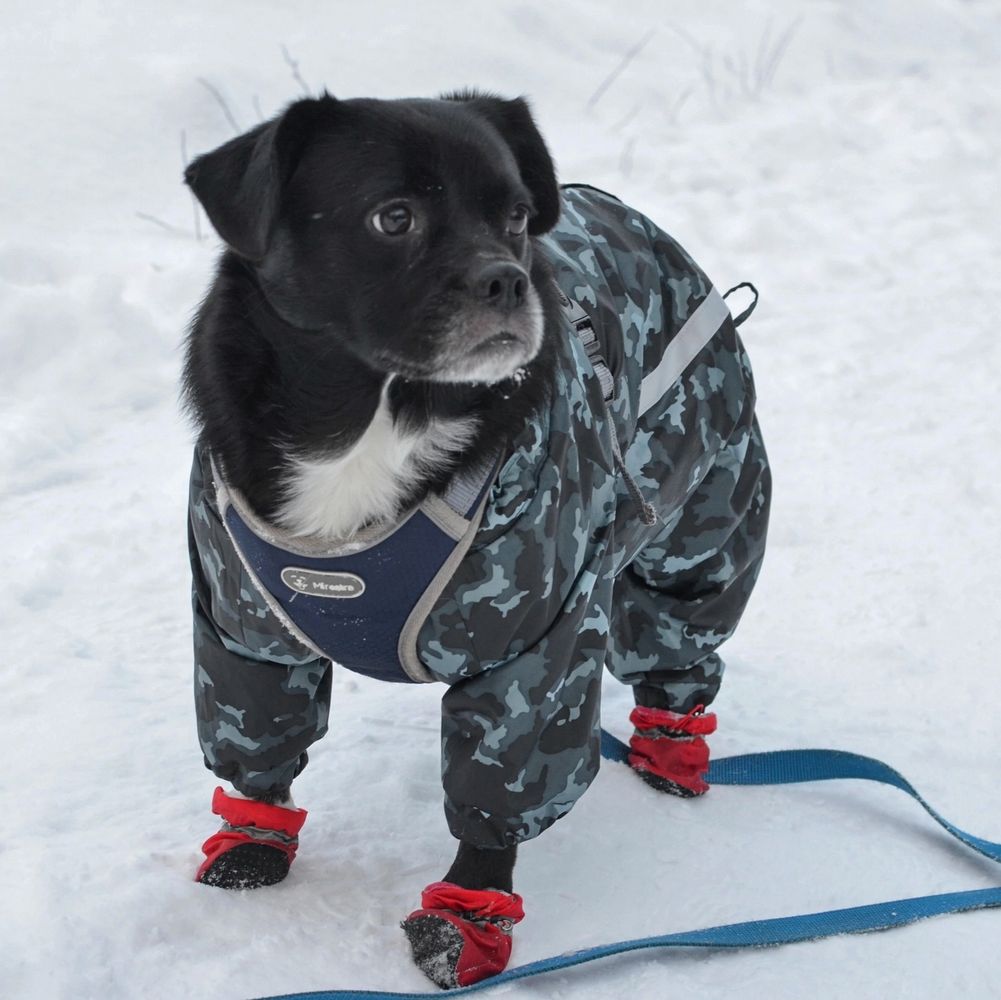
Raincoat for a dog Friend
Raincoat for a dog with a lining with sleeves on cuffs, stand collar with a tie, self-fabric carrier along the stomach, it is fastened on a zipper.
- Difficulty Level:
Pet Size (Back Length / Chest Girth in cm):
-
23/31
-
27/37
-
31/43
-
35/49
-
39/56
-
42/62
-
46/68
-
50/74
-
54/80
-
-
Recommended materials
Raincoat fabrics.
We used: raincoat fabric.
Estimated fabric yardage
Main and lining - length from 0.5 m (23 size) to 1.4 m (54 size) with a width of 1.5 m.
Wearing ease
4.5–6 cm.
Additionally:
- threads – 2 spools;
- detachable zipper 30-60 cm – 1 pc
- elastic band of 2.5 cm wide (length is determined individually) elastic band of 0.7 cm wide (length is determined individually) grommets ø 1 cm – 4 pcs
- retainers – 4 pcs
- reflective band 0.6-1 m
Allowances
For seams – 1 cm; for finishing seams - 0.7 cm.
Equipment
Stitching machine, presser for installing accessories.
Pattern details
Of the main material:
- Main detail - green - 2 pcs
- Sleeve - purple - 2 pcs
- Stand-collar cut 1 on fold - blue
- Cuff - black - 4 pcs
- Zipper placket - pink - 2 pcs
- Ties of 3 cm wide (length is determined individually)
Attention!!! Female and male dogs have different necklines.
Of the lining material:
- Main detail - green - 2 pcs
- Sleeve - purple - 2 pcs
Tailoring. Video Tutorial
- Apply interfacing to the location for the grommets on the stand collar and the main detail.
- Finish the placket ends. Turn it out, straighten it, and press it in half. Topstitch along the placket edge and fold line at 0.5 cm from the edge.
- Pin and stitch the placket and one edge of the zipper to the main detail upper edge from the front side with a seam of 1 cm wide. Place the placket and zipper, having left 1cm from the neckline and lower edges, the placket should close the zipper. The slider should be near the neckline if the zipper is fastened. Press it, directing the allowances to the main detail.
- Pin and stitch the zipper and the placket second edge to another upper edge of the main detail from the front side, evening edges, and the edge of the braid. Place the placket and zipper, leaving 1 cm from the neckline and lower edges, the placket should be under the zipper. The slider should be near the neckline if the zipper is fastened. Press it, directing the allowances to the main detail.
- Mark the location for the reflective tape on the main details. Stitch the tape at 0.1 cm from the edge.
- Mark the location for the self-fabric carrier and grommets. Install the grommets.
- Stitch the main details lower edges. Press the allowances open.
- Stitch the sleeve lower edges (front paws). Press the allowances open.
- Stitch the sleeve edges of the hind legs. Press the allowances open.
- Stitch the sleeves to the armholes of the main detail, then press the allowances on the sleeve.
- Cuff. Press the cuffs lengthwise in half. Stitch the cuffs into a ring. Stitch an elastic band into a ring with an overlapped seam (the length of the band is determined individually). Put the elastic band into the cuff and stitch the cuff open edges with a seam of 0.5 cm wide.
- Stitch the cuff to the sleeve hem.
- Collar. Finish the stand-collar ends. Turn out the collar, straighten it, and press it in half lengthwise. Mark the location for the grommets. Install the grommets. Make two parallel stitching lines along the collar: the first one should be located 0.7 cm from the collar fold line, and the second one should be located at 1.5 cm from the first one. These stitching lines should not reach the grommets at 1 cm.
- Tie. Fold the tie in half lengthwise (front side up) and then press it. Press the longitudinal edges inside, to the fold line. Evening the fold lines, make a stitching line at 0.1 cm from them.
- Thread the tie between the collar lines through the grommet to the front side, and put on the retainer, leaving a free loop of the tie. Then return it to the grommet to the wrong side and fix the ends to the collar finishing seam allowances.
- Stitch the collar to the neckline, evening the collar ends with the seam of the zipper and plackets stitching.
- Lining. Stitch the main detail lower edges of the lining, leaving a hole for turning out 15 cm. Stitch the sleeves lower edges, and press the allowances open. Stitch the sleeves to the armholes, and press the allowances on the sleeves. Stitch the sleeve edges of the hind legs, then press the allowances open.
- Stitching the lining. Attach the garment on the lining front sides together and stitch them along the main detail upper edges, making the stitching line to the zipper stitching seam. Stitch the lining to the neckline edges. If your dog is male, the self-fabric carrier begins from the cutout on the stomach detail. At this stage, it is necessary to fix the ties to the garment and the lining stitching seam allowances between the markings of the self-fabric carrier. Cut allowances on curly parts. Turn the garment out through the hole to the front side. Press the seam of the lining stitching.
- Baste the edge of the cutout, placing the seam on the edge, then press it. Make a stitching line along the edge of the cutout at 1 cm, for male dogs directing the ties along the self-fabric carrier marking. Start and finish the stitching line at 2 cm from the zipper stitching seam.
- Make a stitching line along the self-fabric carrier marked line if your dog is male: leaving a tie between the lines (the line connects the garment top with the lining). Make a stitching line, not reaching 2cm till the grommet.
- If your dog is female: thread the tie between the self-fabric carrier lines. Thread the tie ends through the grommets to the front side, put on the retainer, leaving a free loop of the tie, then return it to the grommet to the wrong side, and fix it to the zipper stitching seam allowances.
- Thread the elastic band between the edge of the cutout and the stitching line. Fix its ends to the zipper stitching seam allowances.
- In the lining sew a hole for turning out with the help of basting stitches.
- Perform the final wet-heat treatment.


Loading comments...